
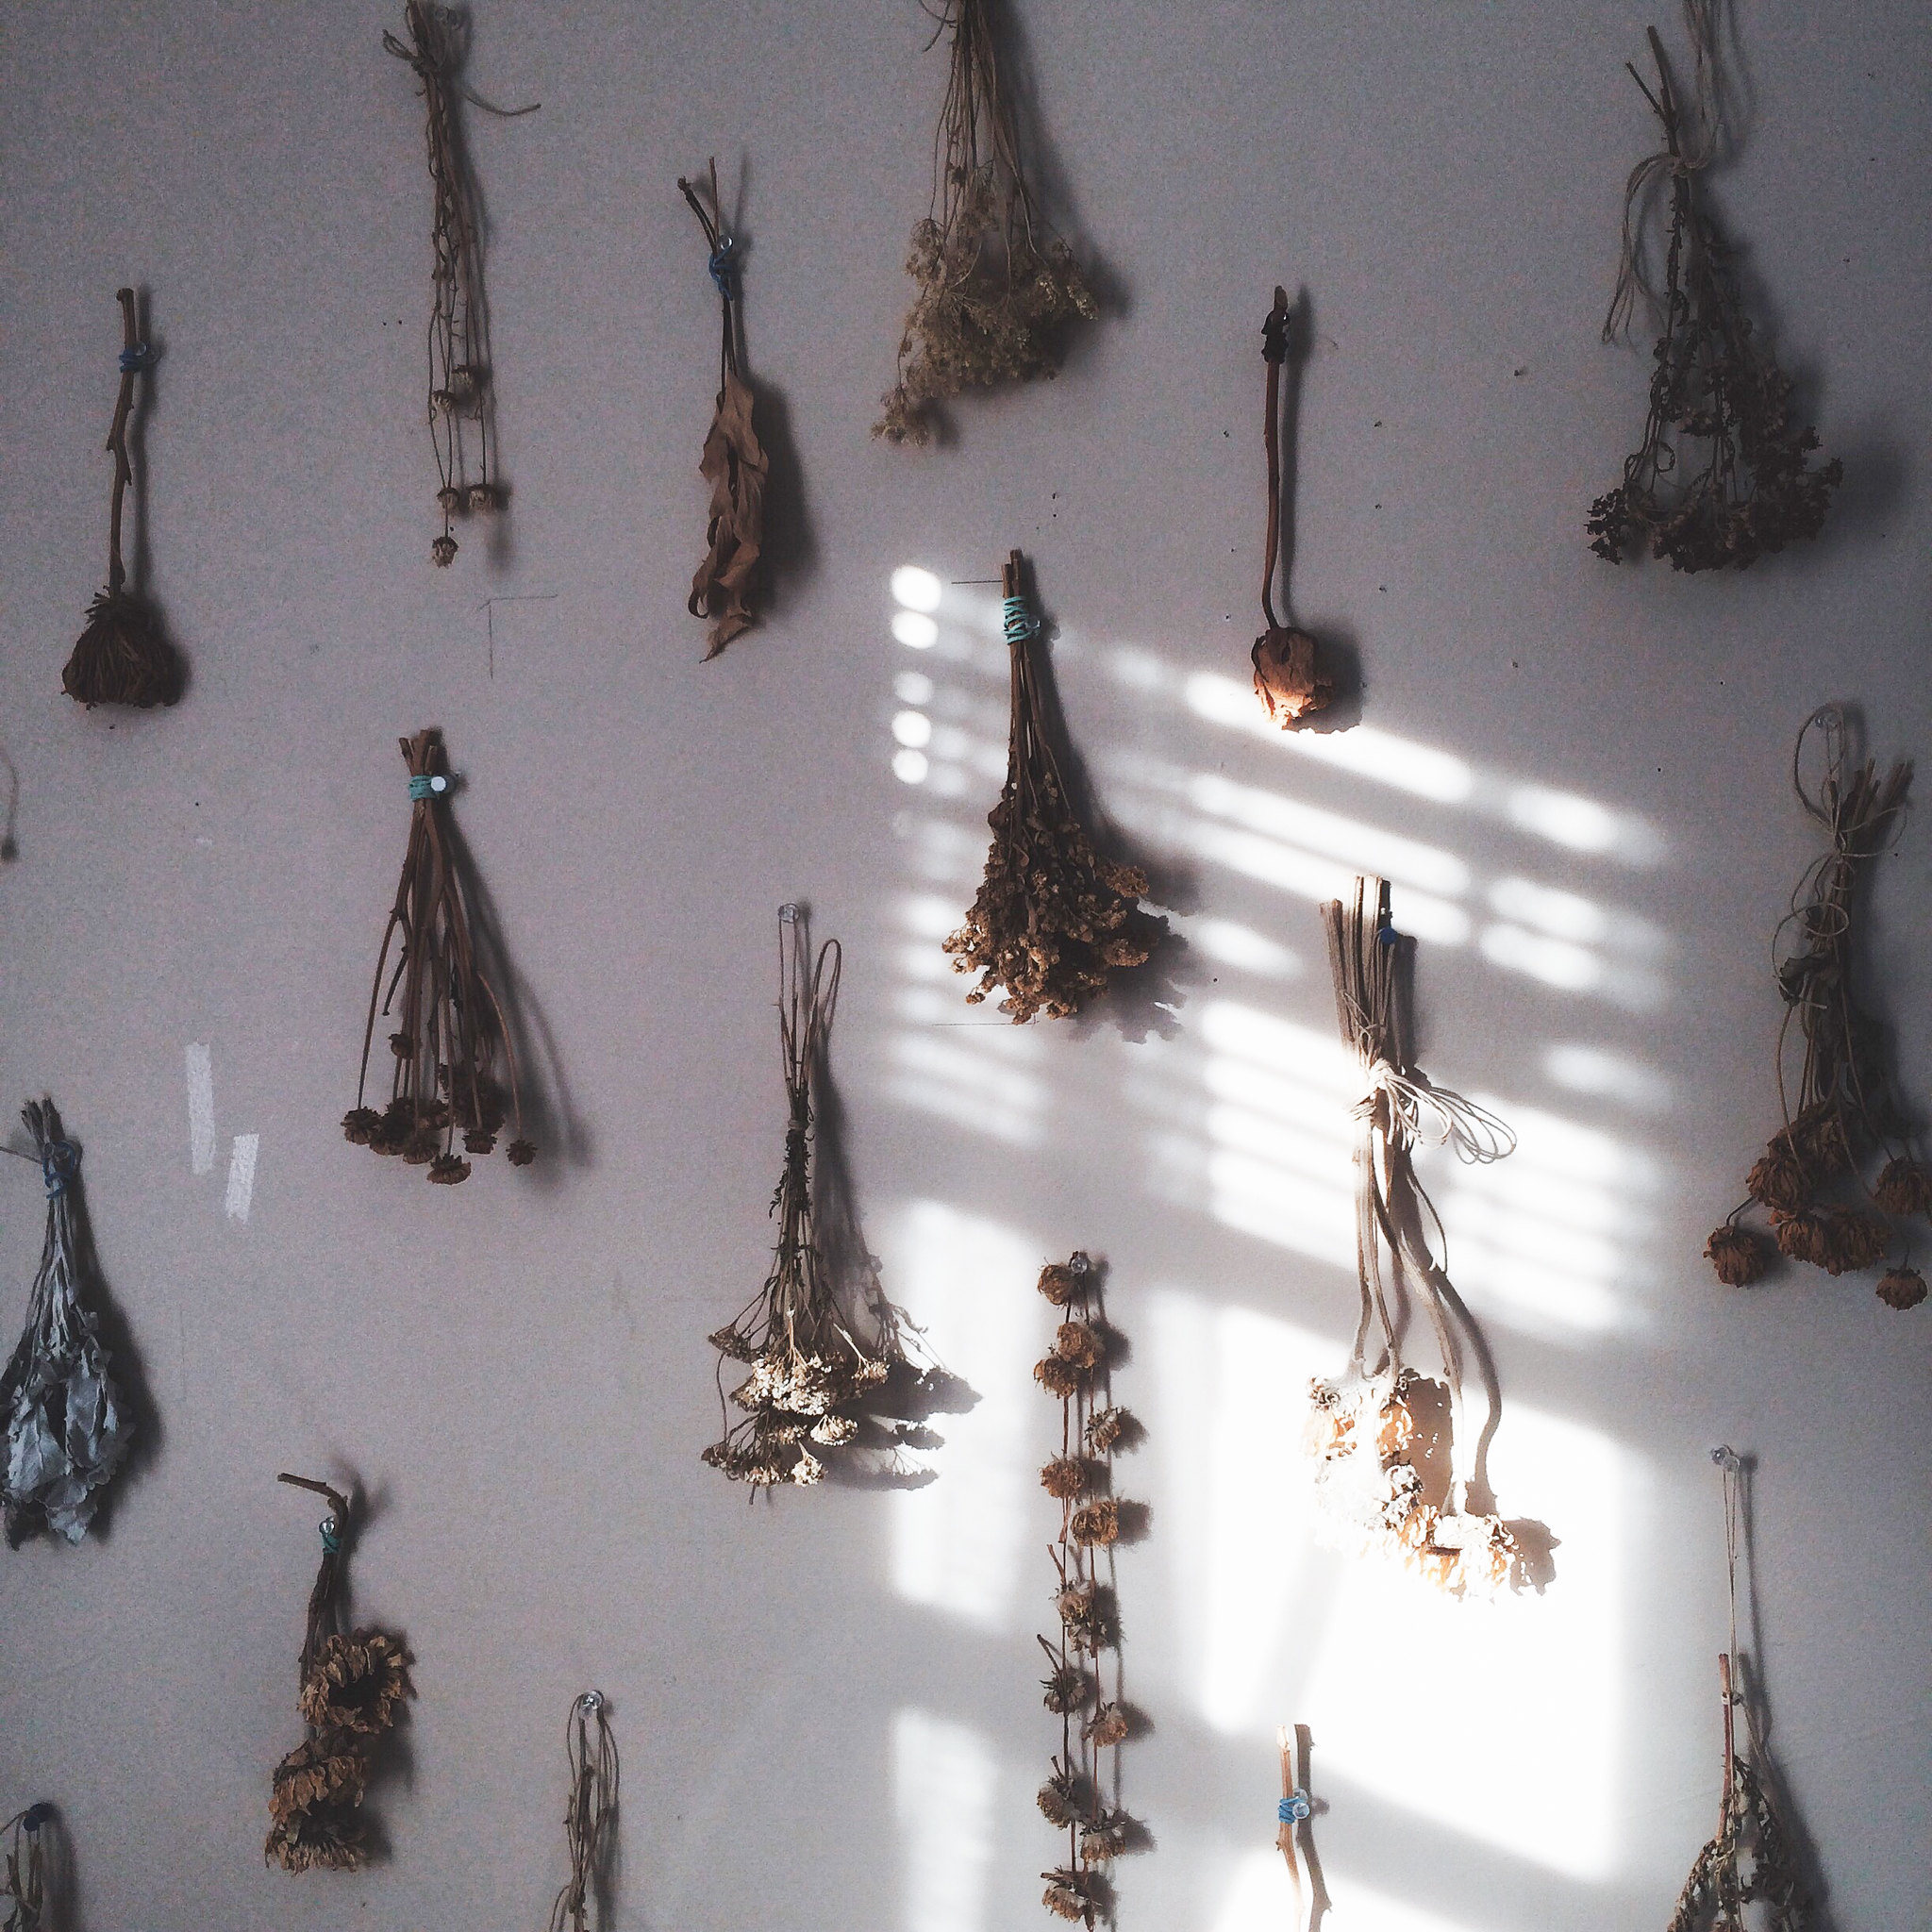
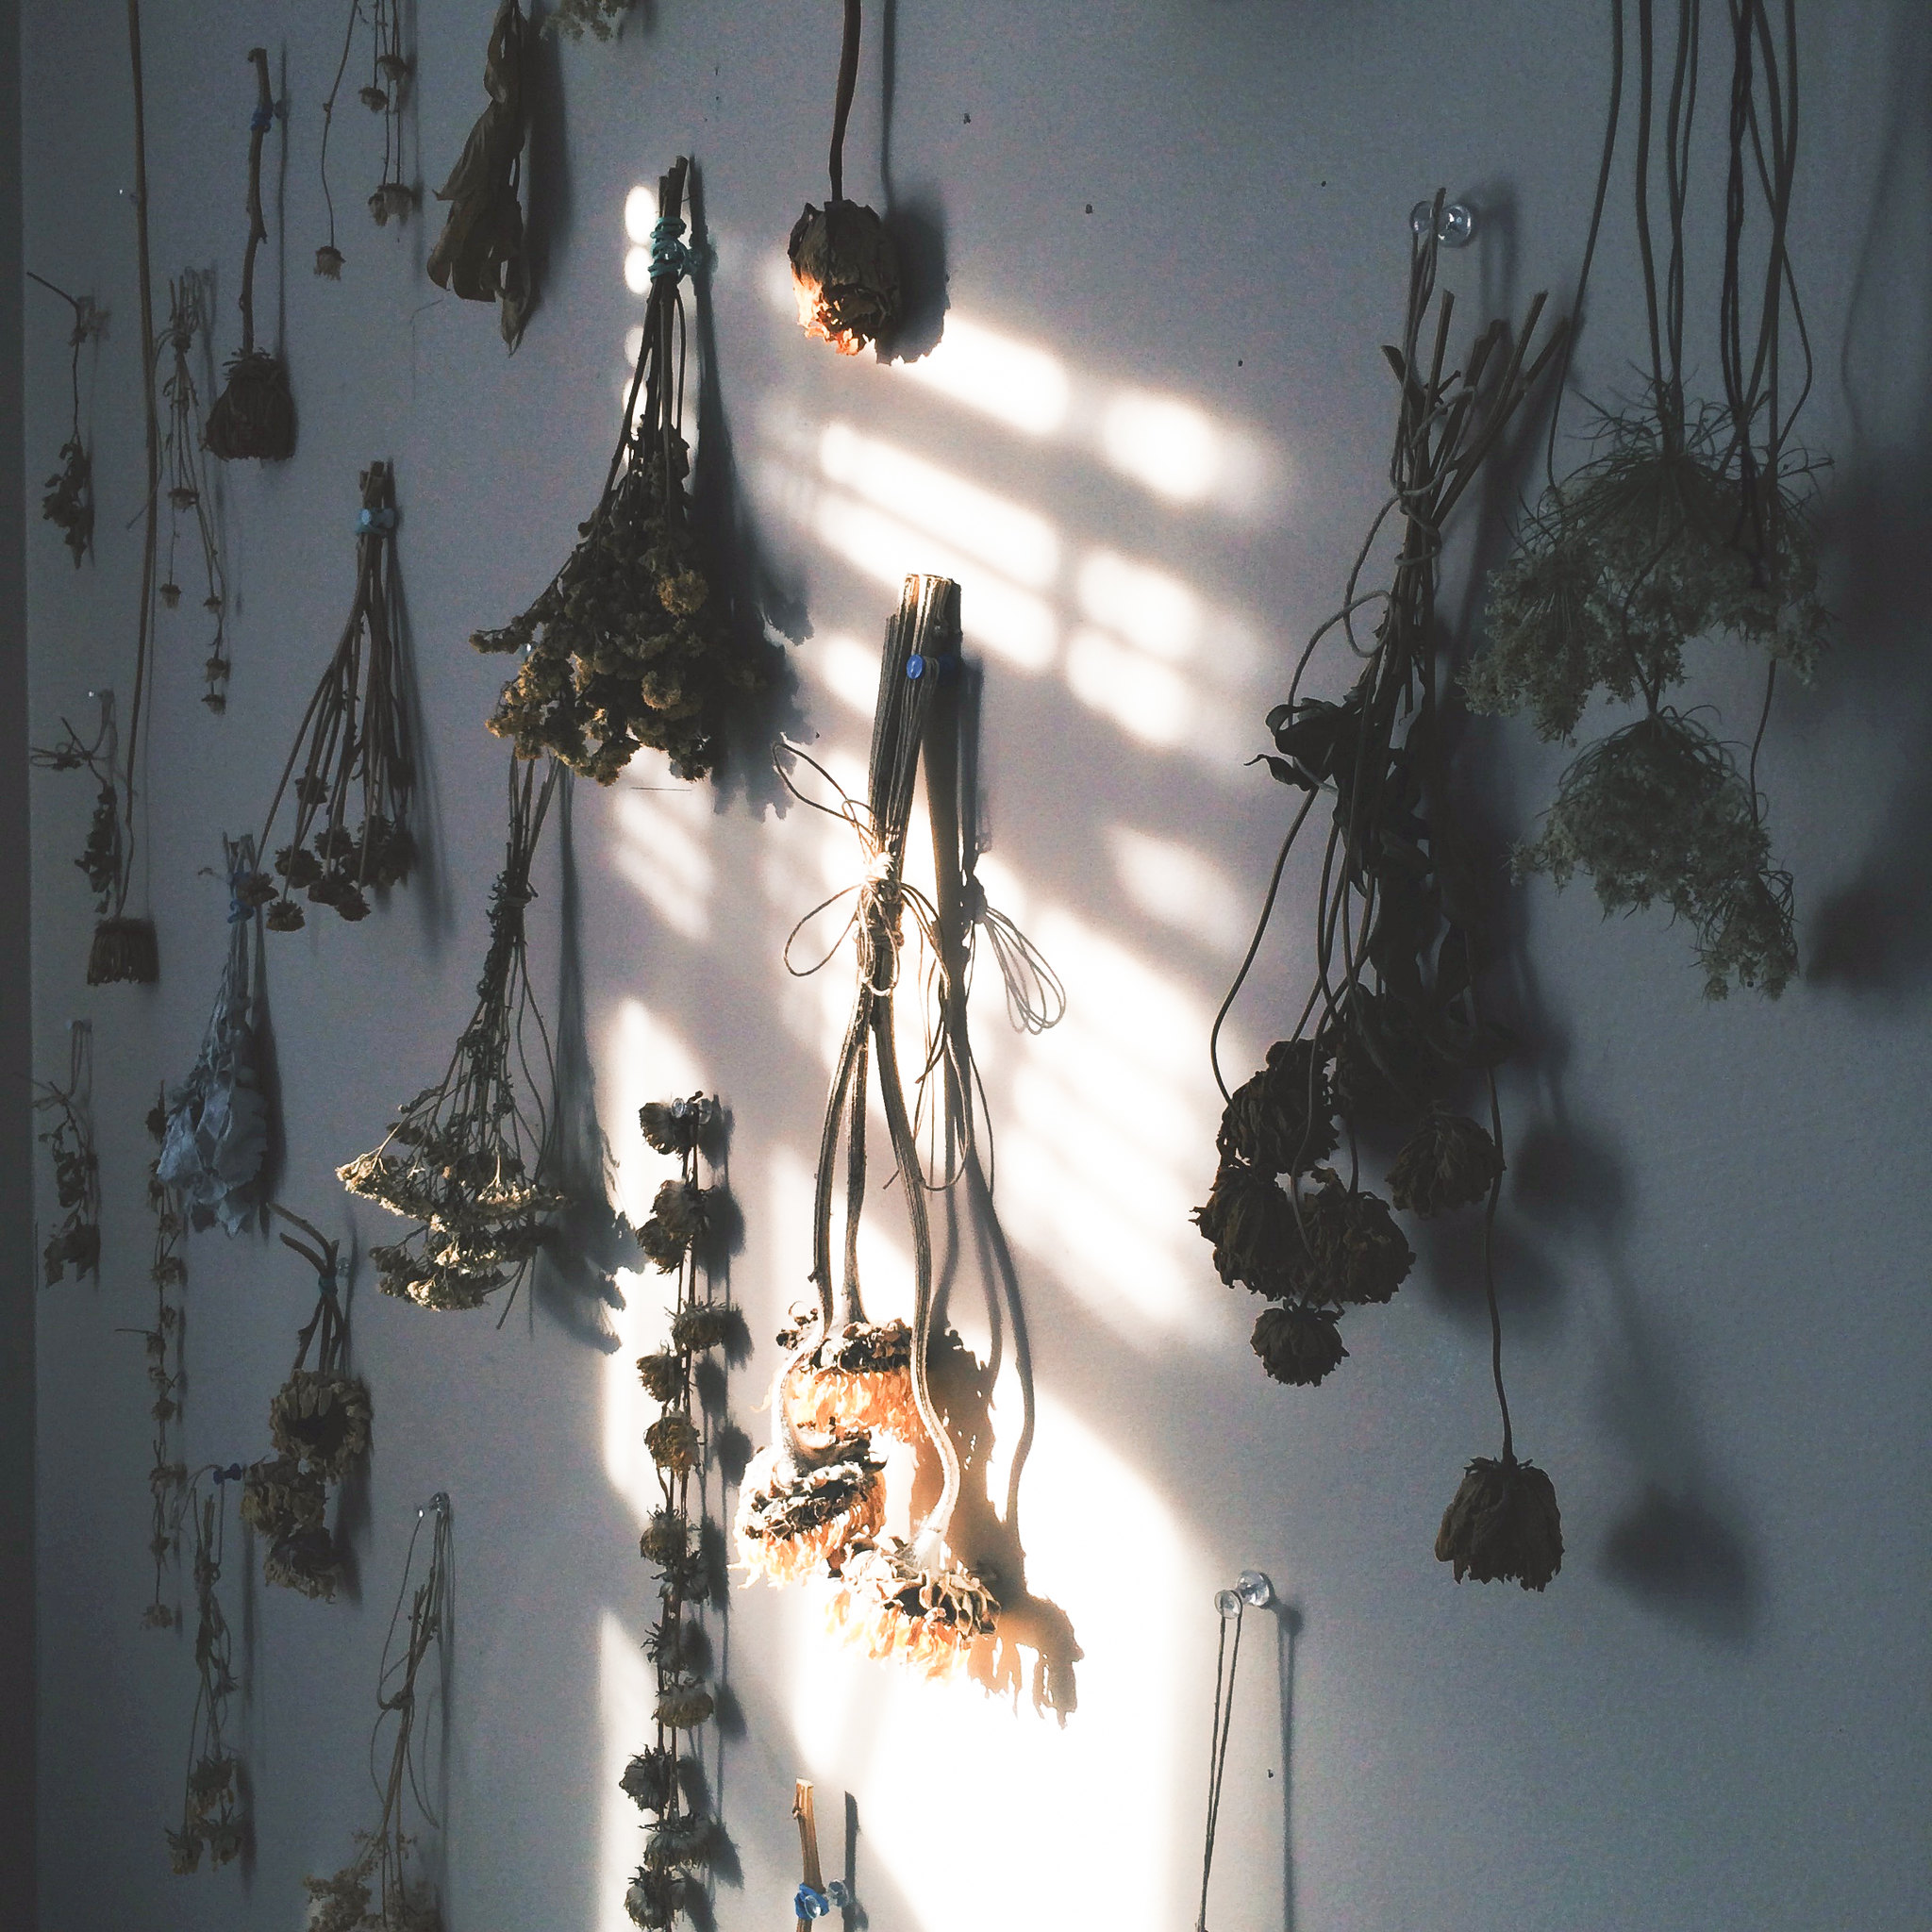
After posting a few Instagram's and my blog post about Donuts and Flowers I have recieved SO many questions and tutorial requests on how to make a dried flower wall. How to hang them, how to dry them, etc. I made my first dried flower wall years and years ago in high school on my bedroom wall. I would pick flowers from my mothers massive gardens as well as wildflowers when I was out on trail runs and then I would hang them up to dry (or press them in a giant dictionary). This past spring and summer, I would always get leftover flowers from weddings and photo shoots and Andrew was constantly bringing me my favorite peonies and garden roses. My desk was constantly like a garden. I started hanging the flowers up all over my room and then I realized that I should make another flower wall (I was also running out of space and had a giant wall that needed decorating). Then I moved from my apartment back to a dorm, and reassembled my wall in a slightly different way so as to not damage the wall. I realized I actually do have a lot of information to share on how to make a dried flower wall. Read on for a DIY tutorial on how to dry flowers and how to display them!
How to dry and preserve flowers;
-My biggest tip; remove the flowers from water before they start dying.
-If a flower starts to die and turn brown while it is in water,
it will start to rot and smell- definitely not something you want for your wall!
-Once the flowers open up and are at peak remove them from the water,
recut the stem.
-Lay flat or hang to dry. Ideally, hang so it does not flatten at all.
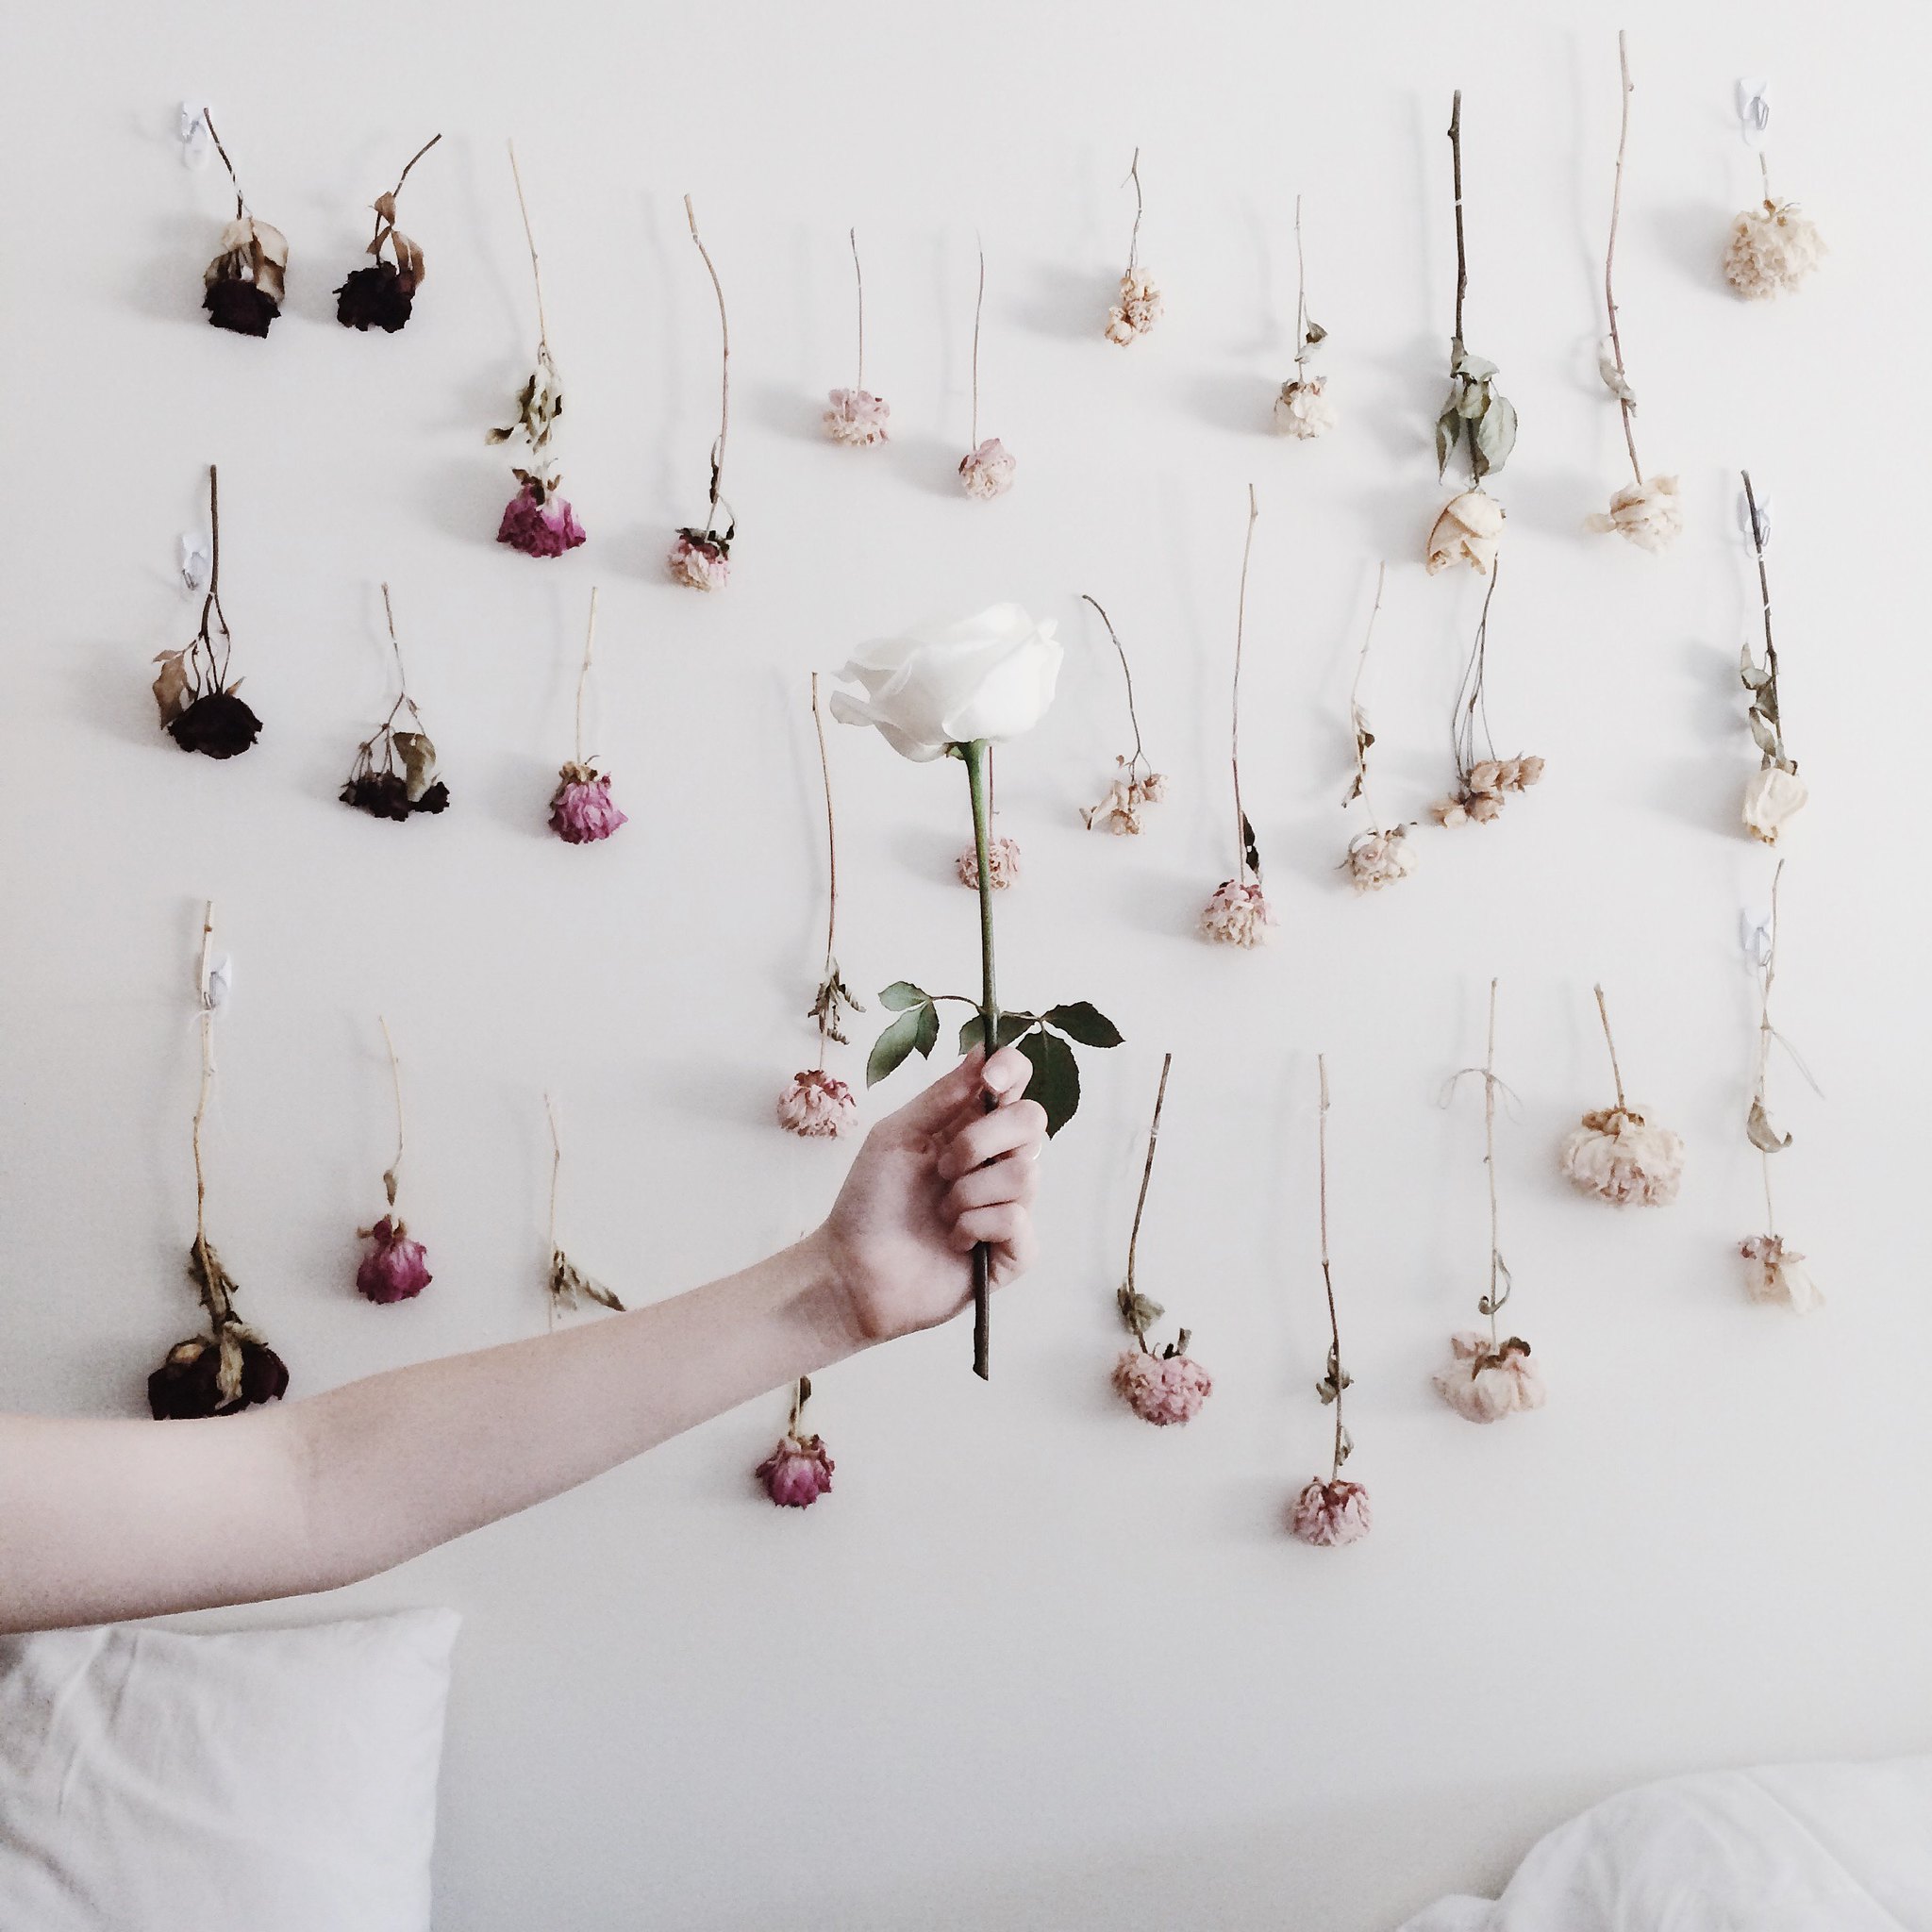
-How to choose flowers? In my ombre wall it is
primarily peonies and garden roses and regular roses. However,
in my wall at home it is a huge variety.
Sunflowers, and babies breath all dry really well.
-How to choose flowers? In my ombre wall it is
primarily peonies and garden roses and regular roses. However,
in my wall at home it is a huge variety.
Sunflowers, and babies breath all dry really well.
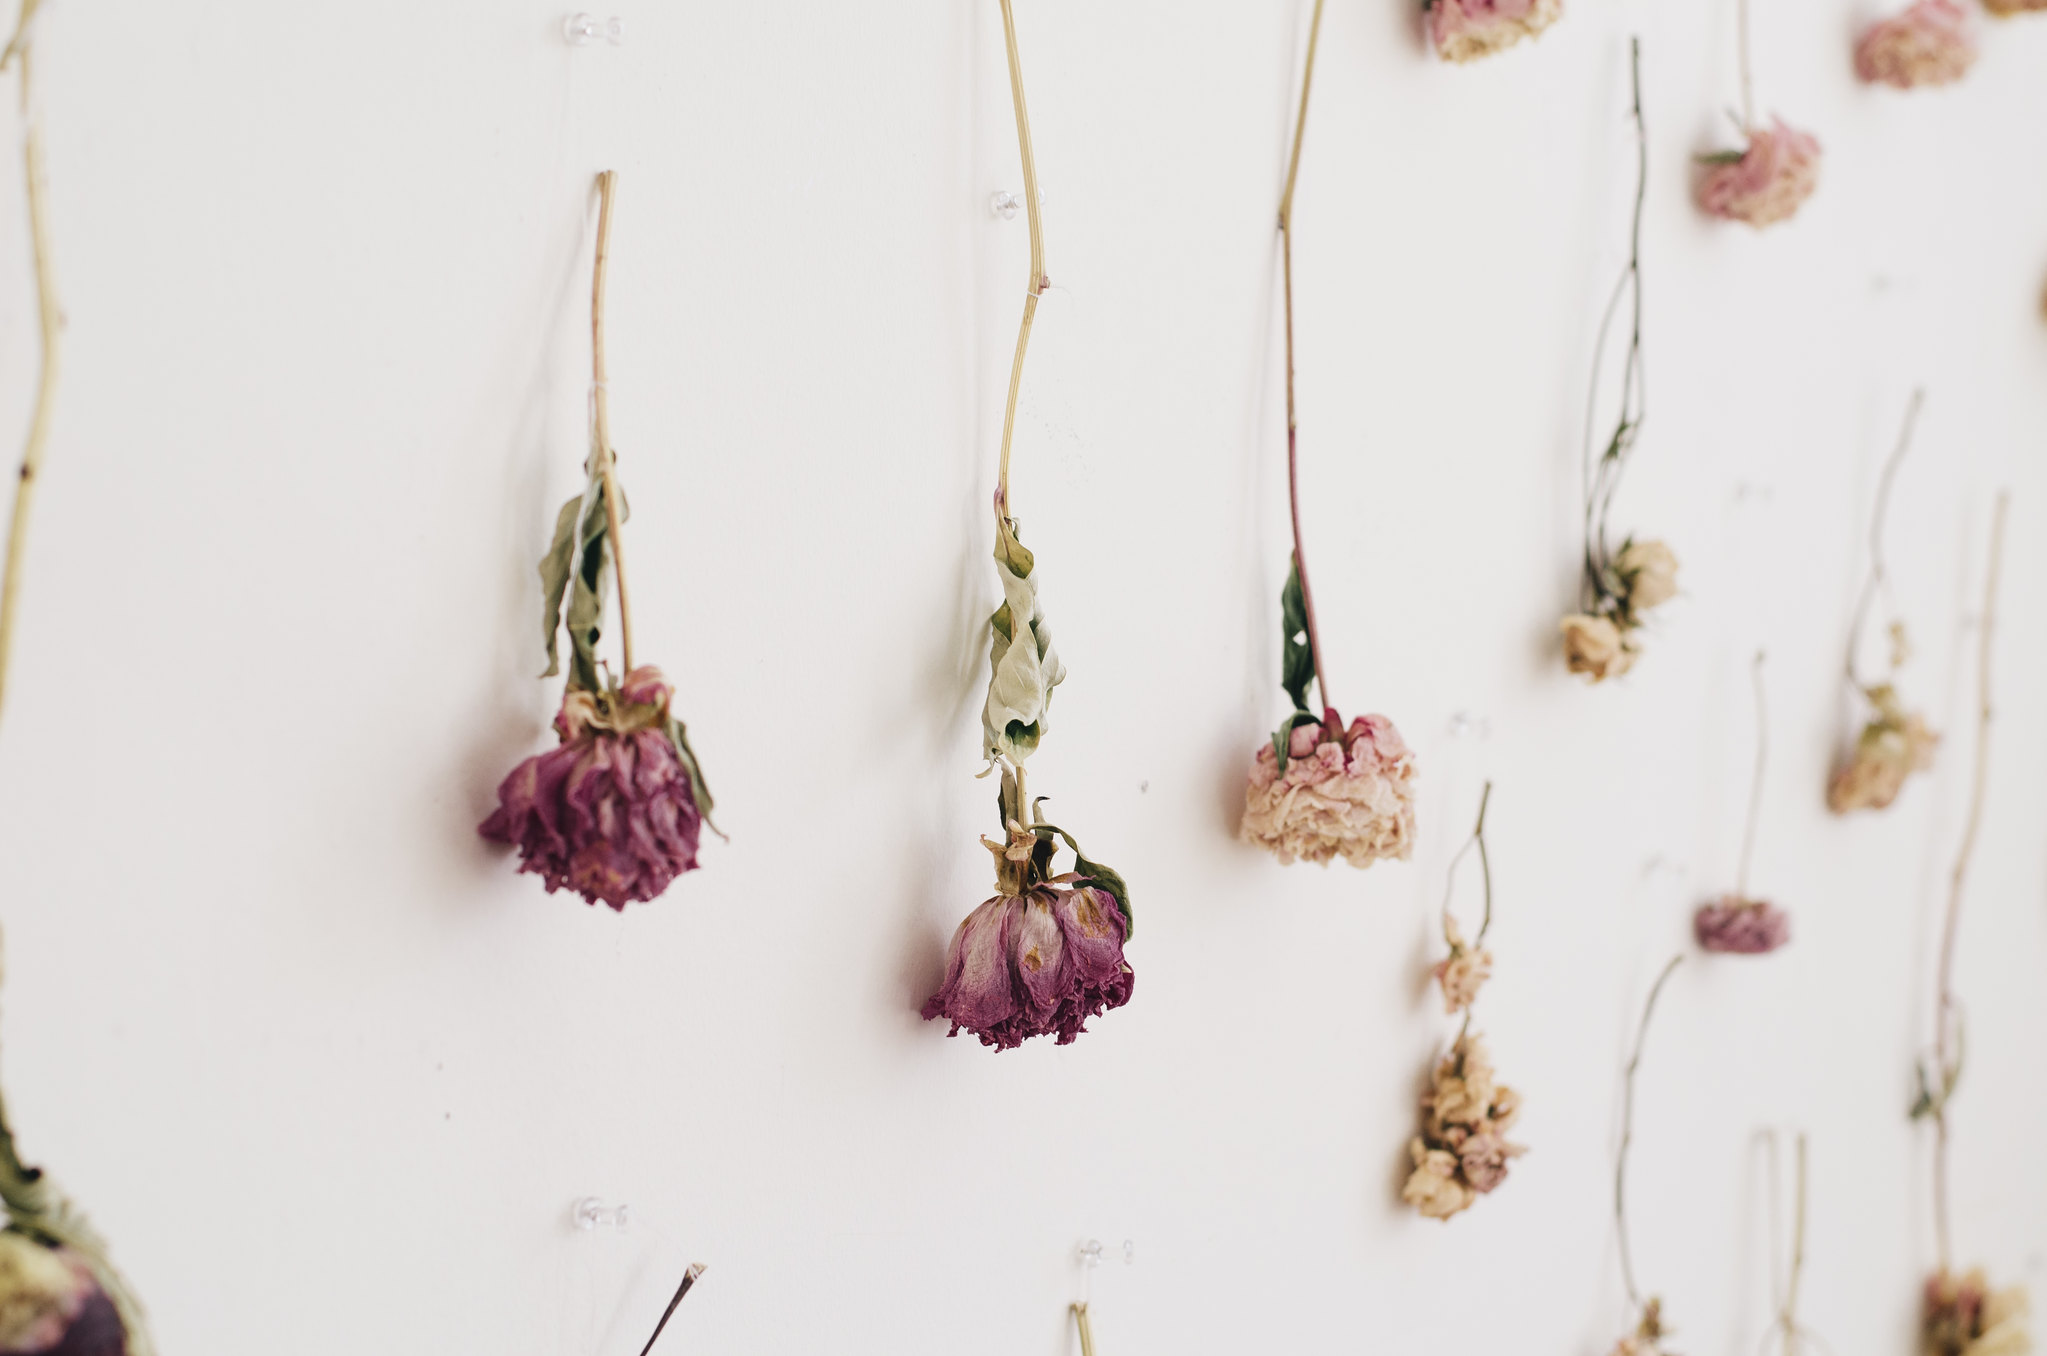
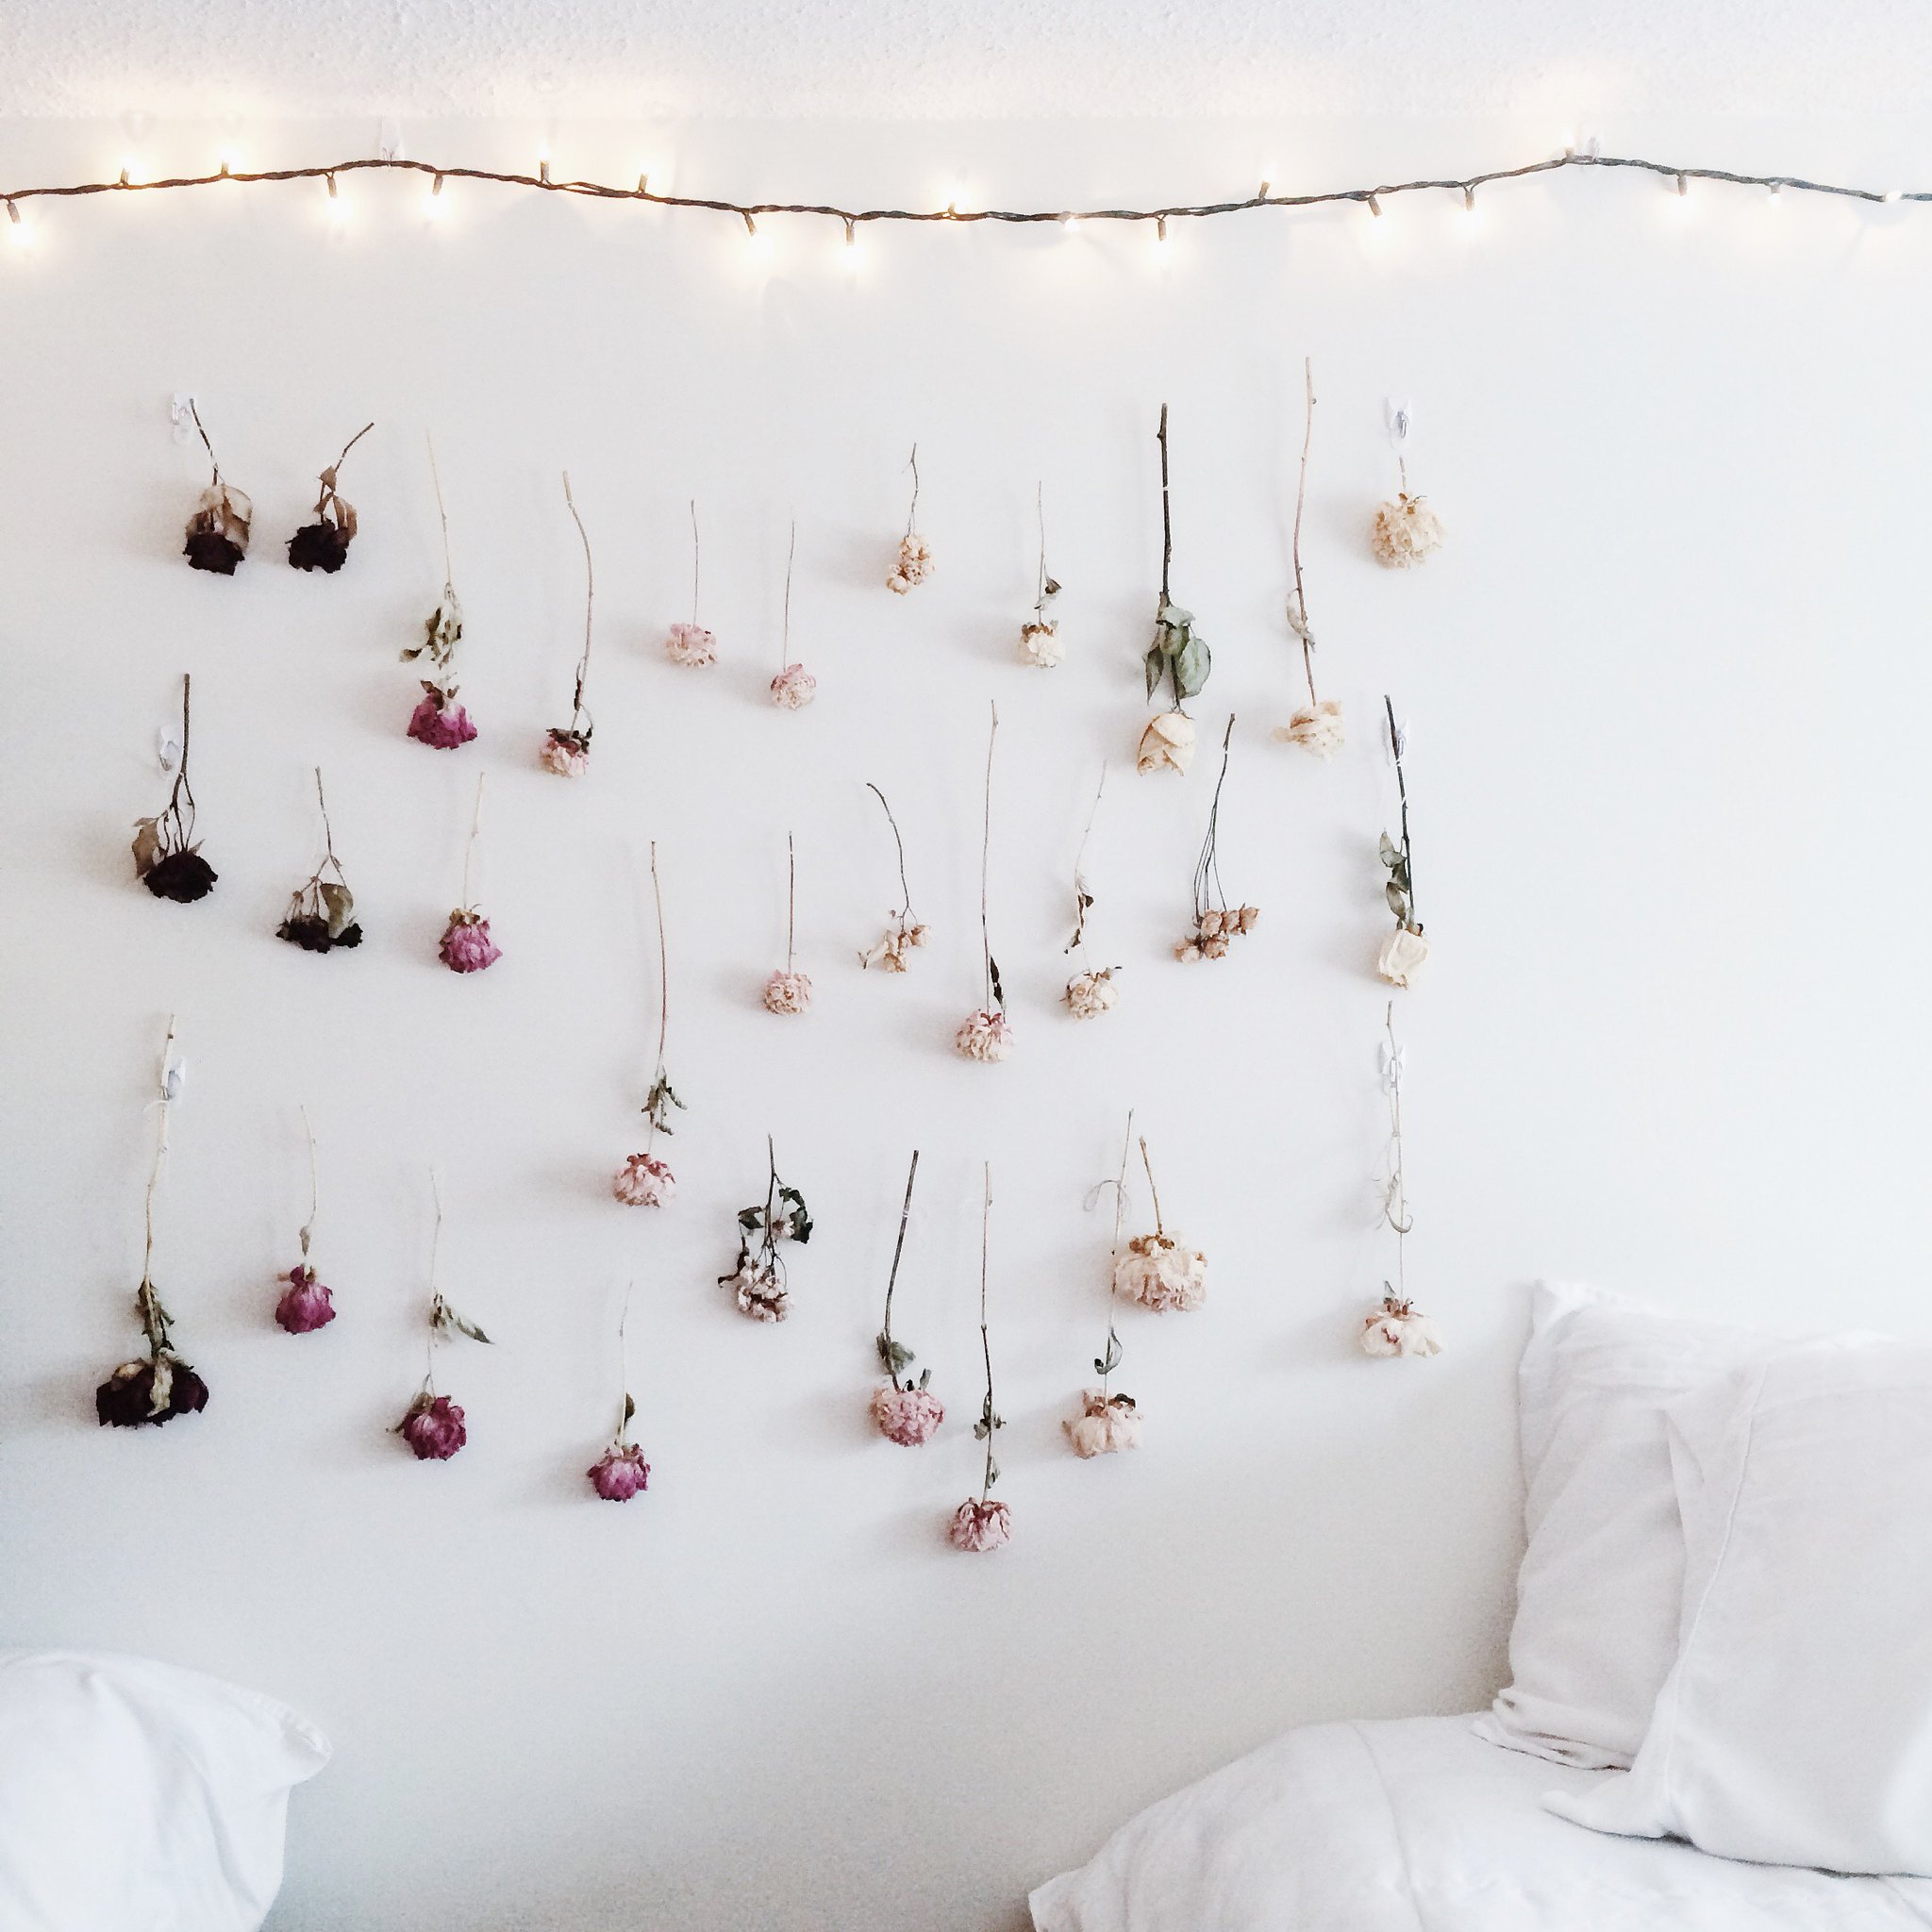
How to hang;
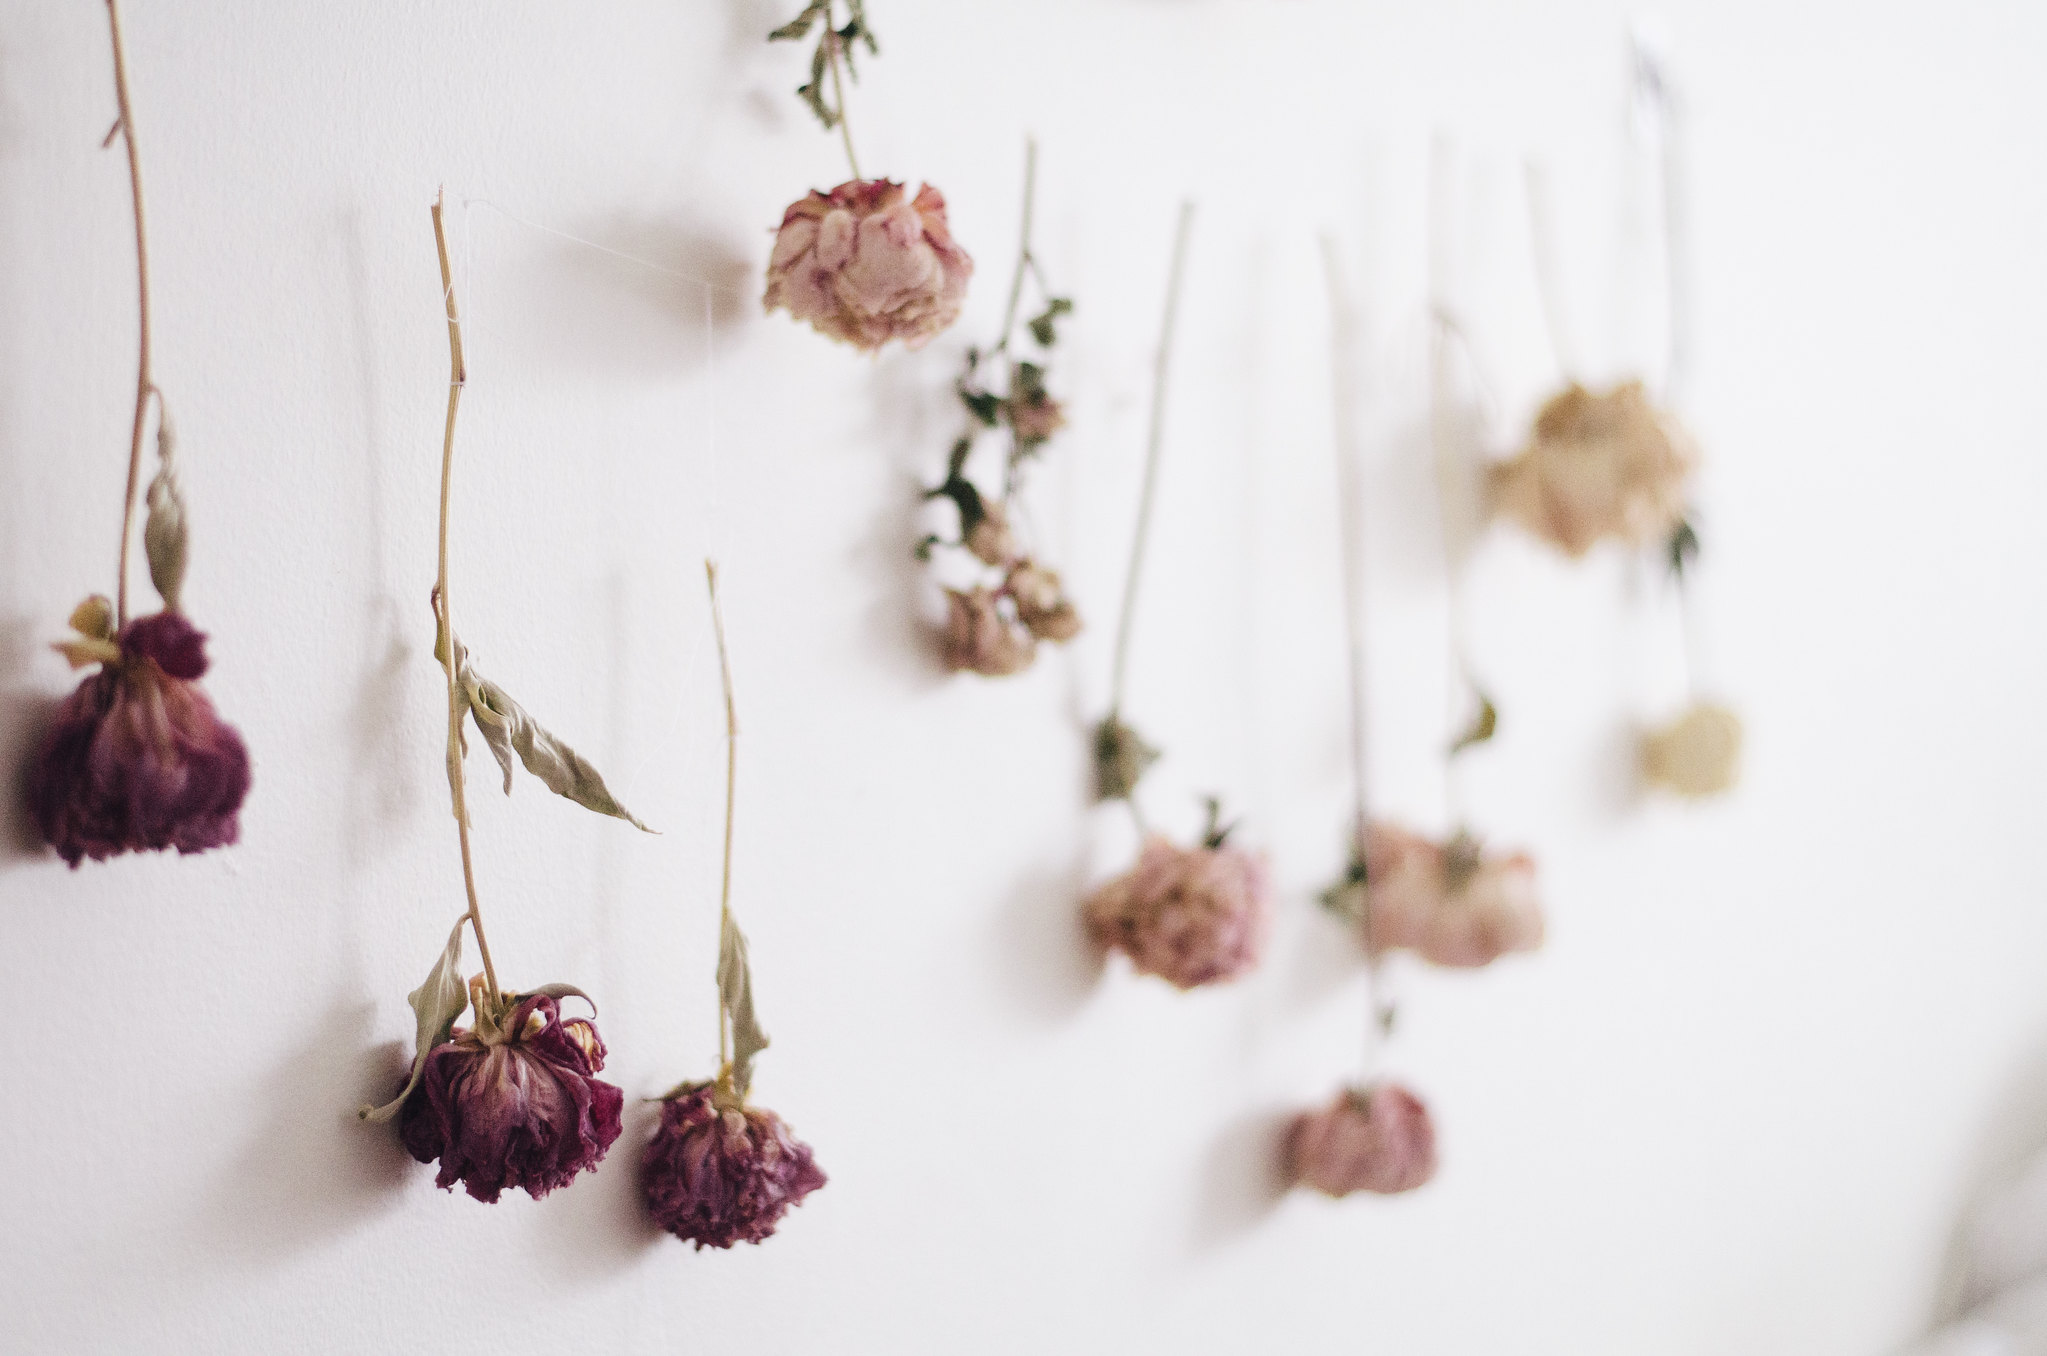
-(second photo + 1 above)
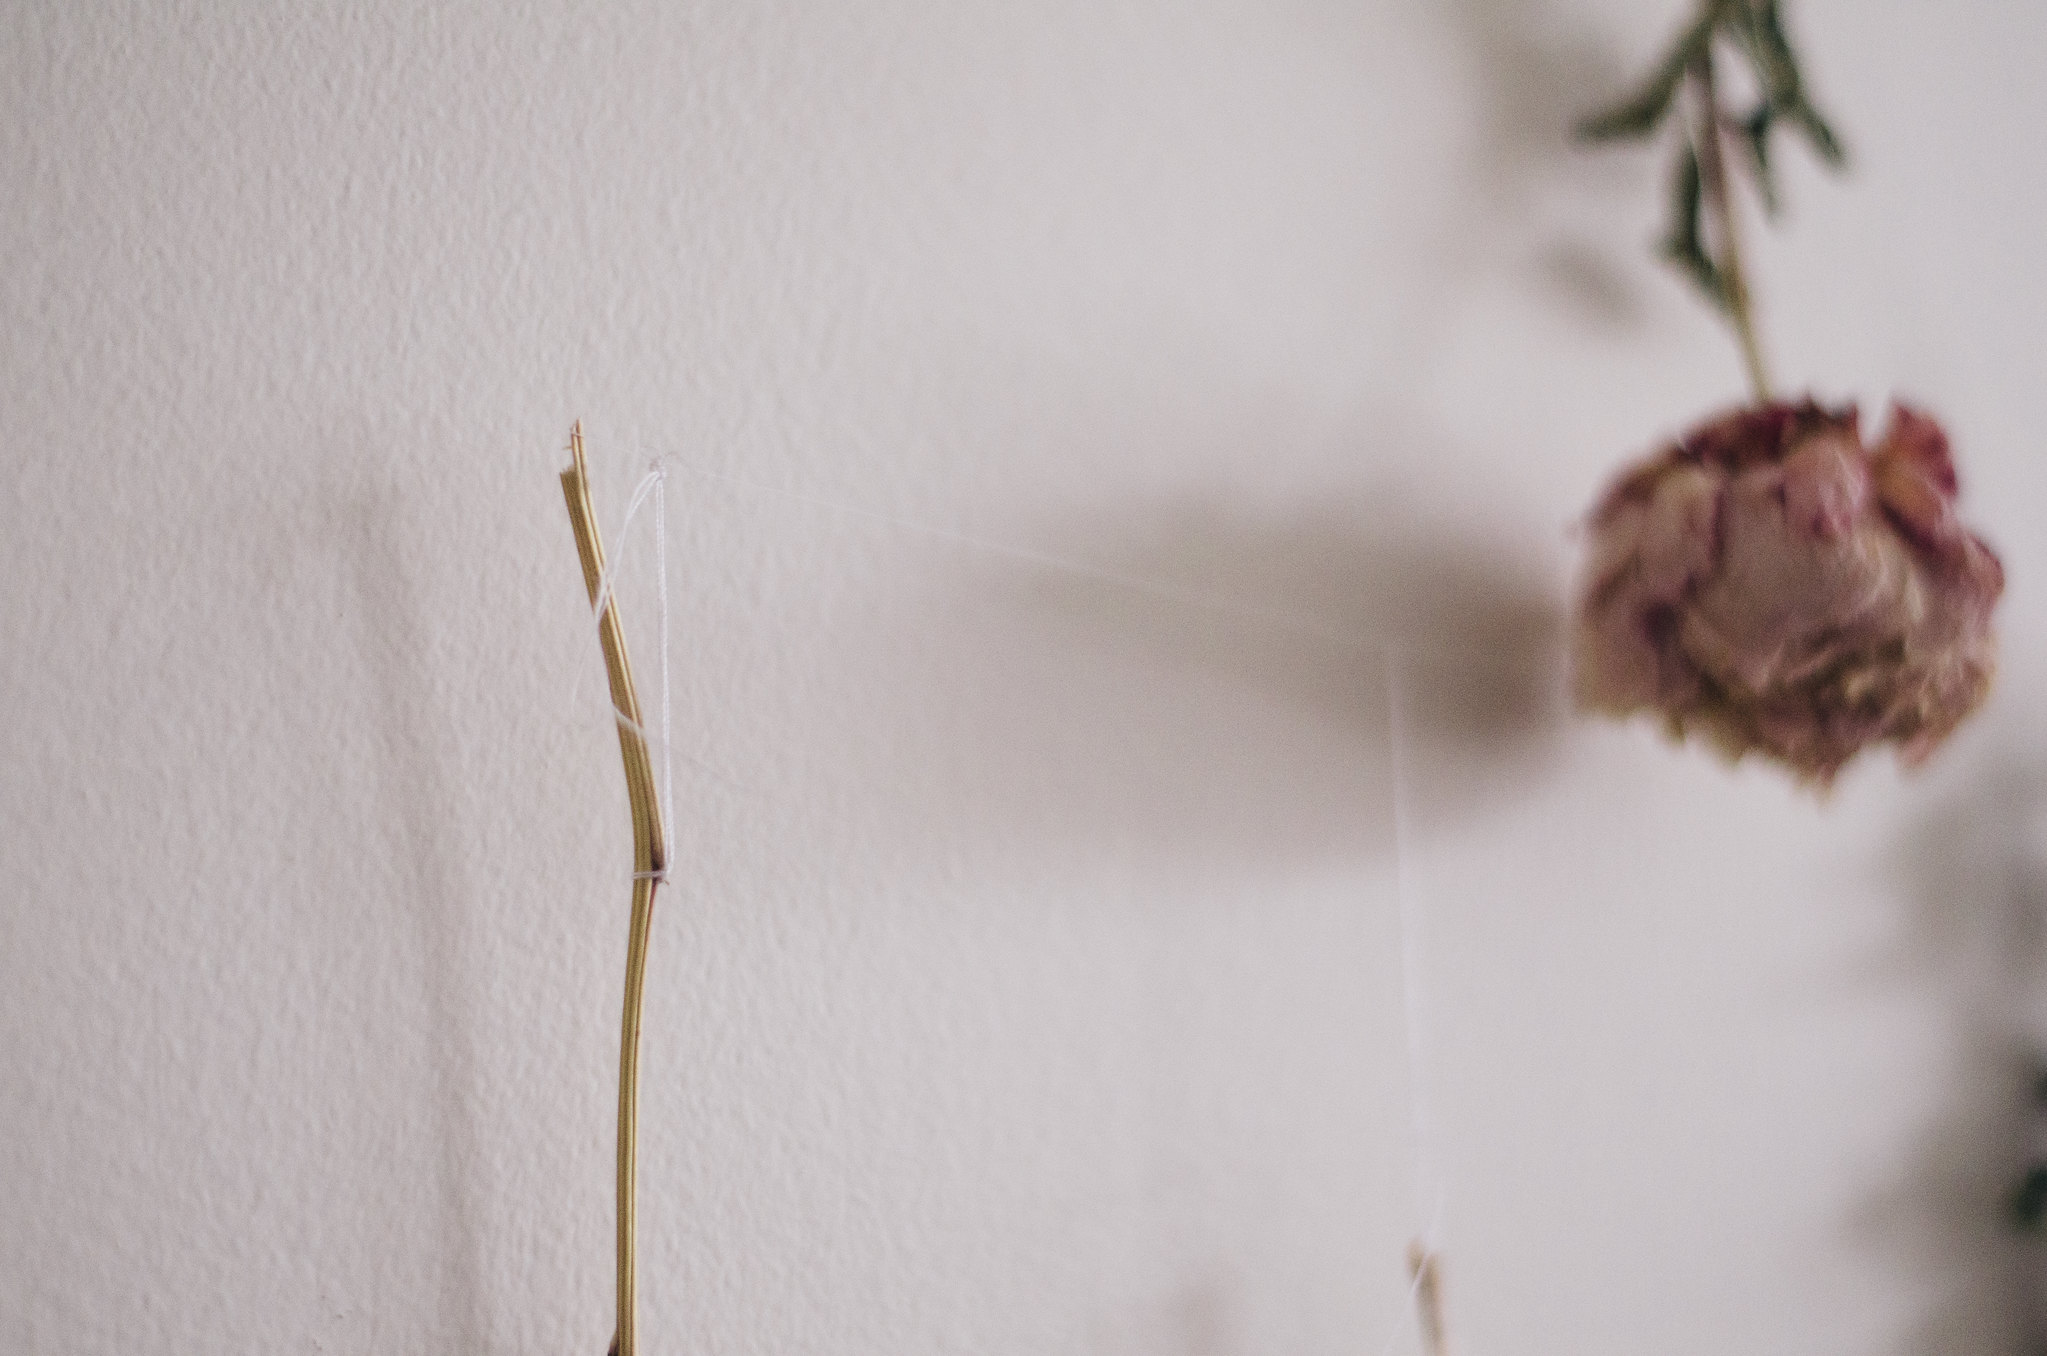
-Around the stem of the flower, use white thread, and tie a double knotted bow,
the loops will help!
-Tie right below a leaf or any irregularity in the stem-
this helps keeps the tie in place instead of sliding right off.
-I used clear tacks on my wall and hung the loops from the tacks.
-I had them hung all mismatched and as my collection grew,
I organized them from dark to light to create the ombre pattern.
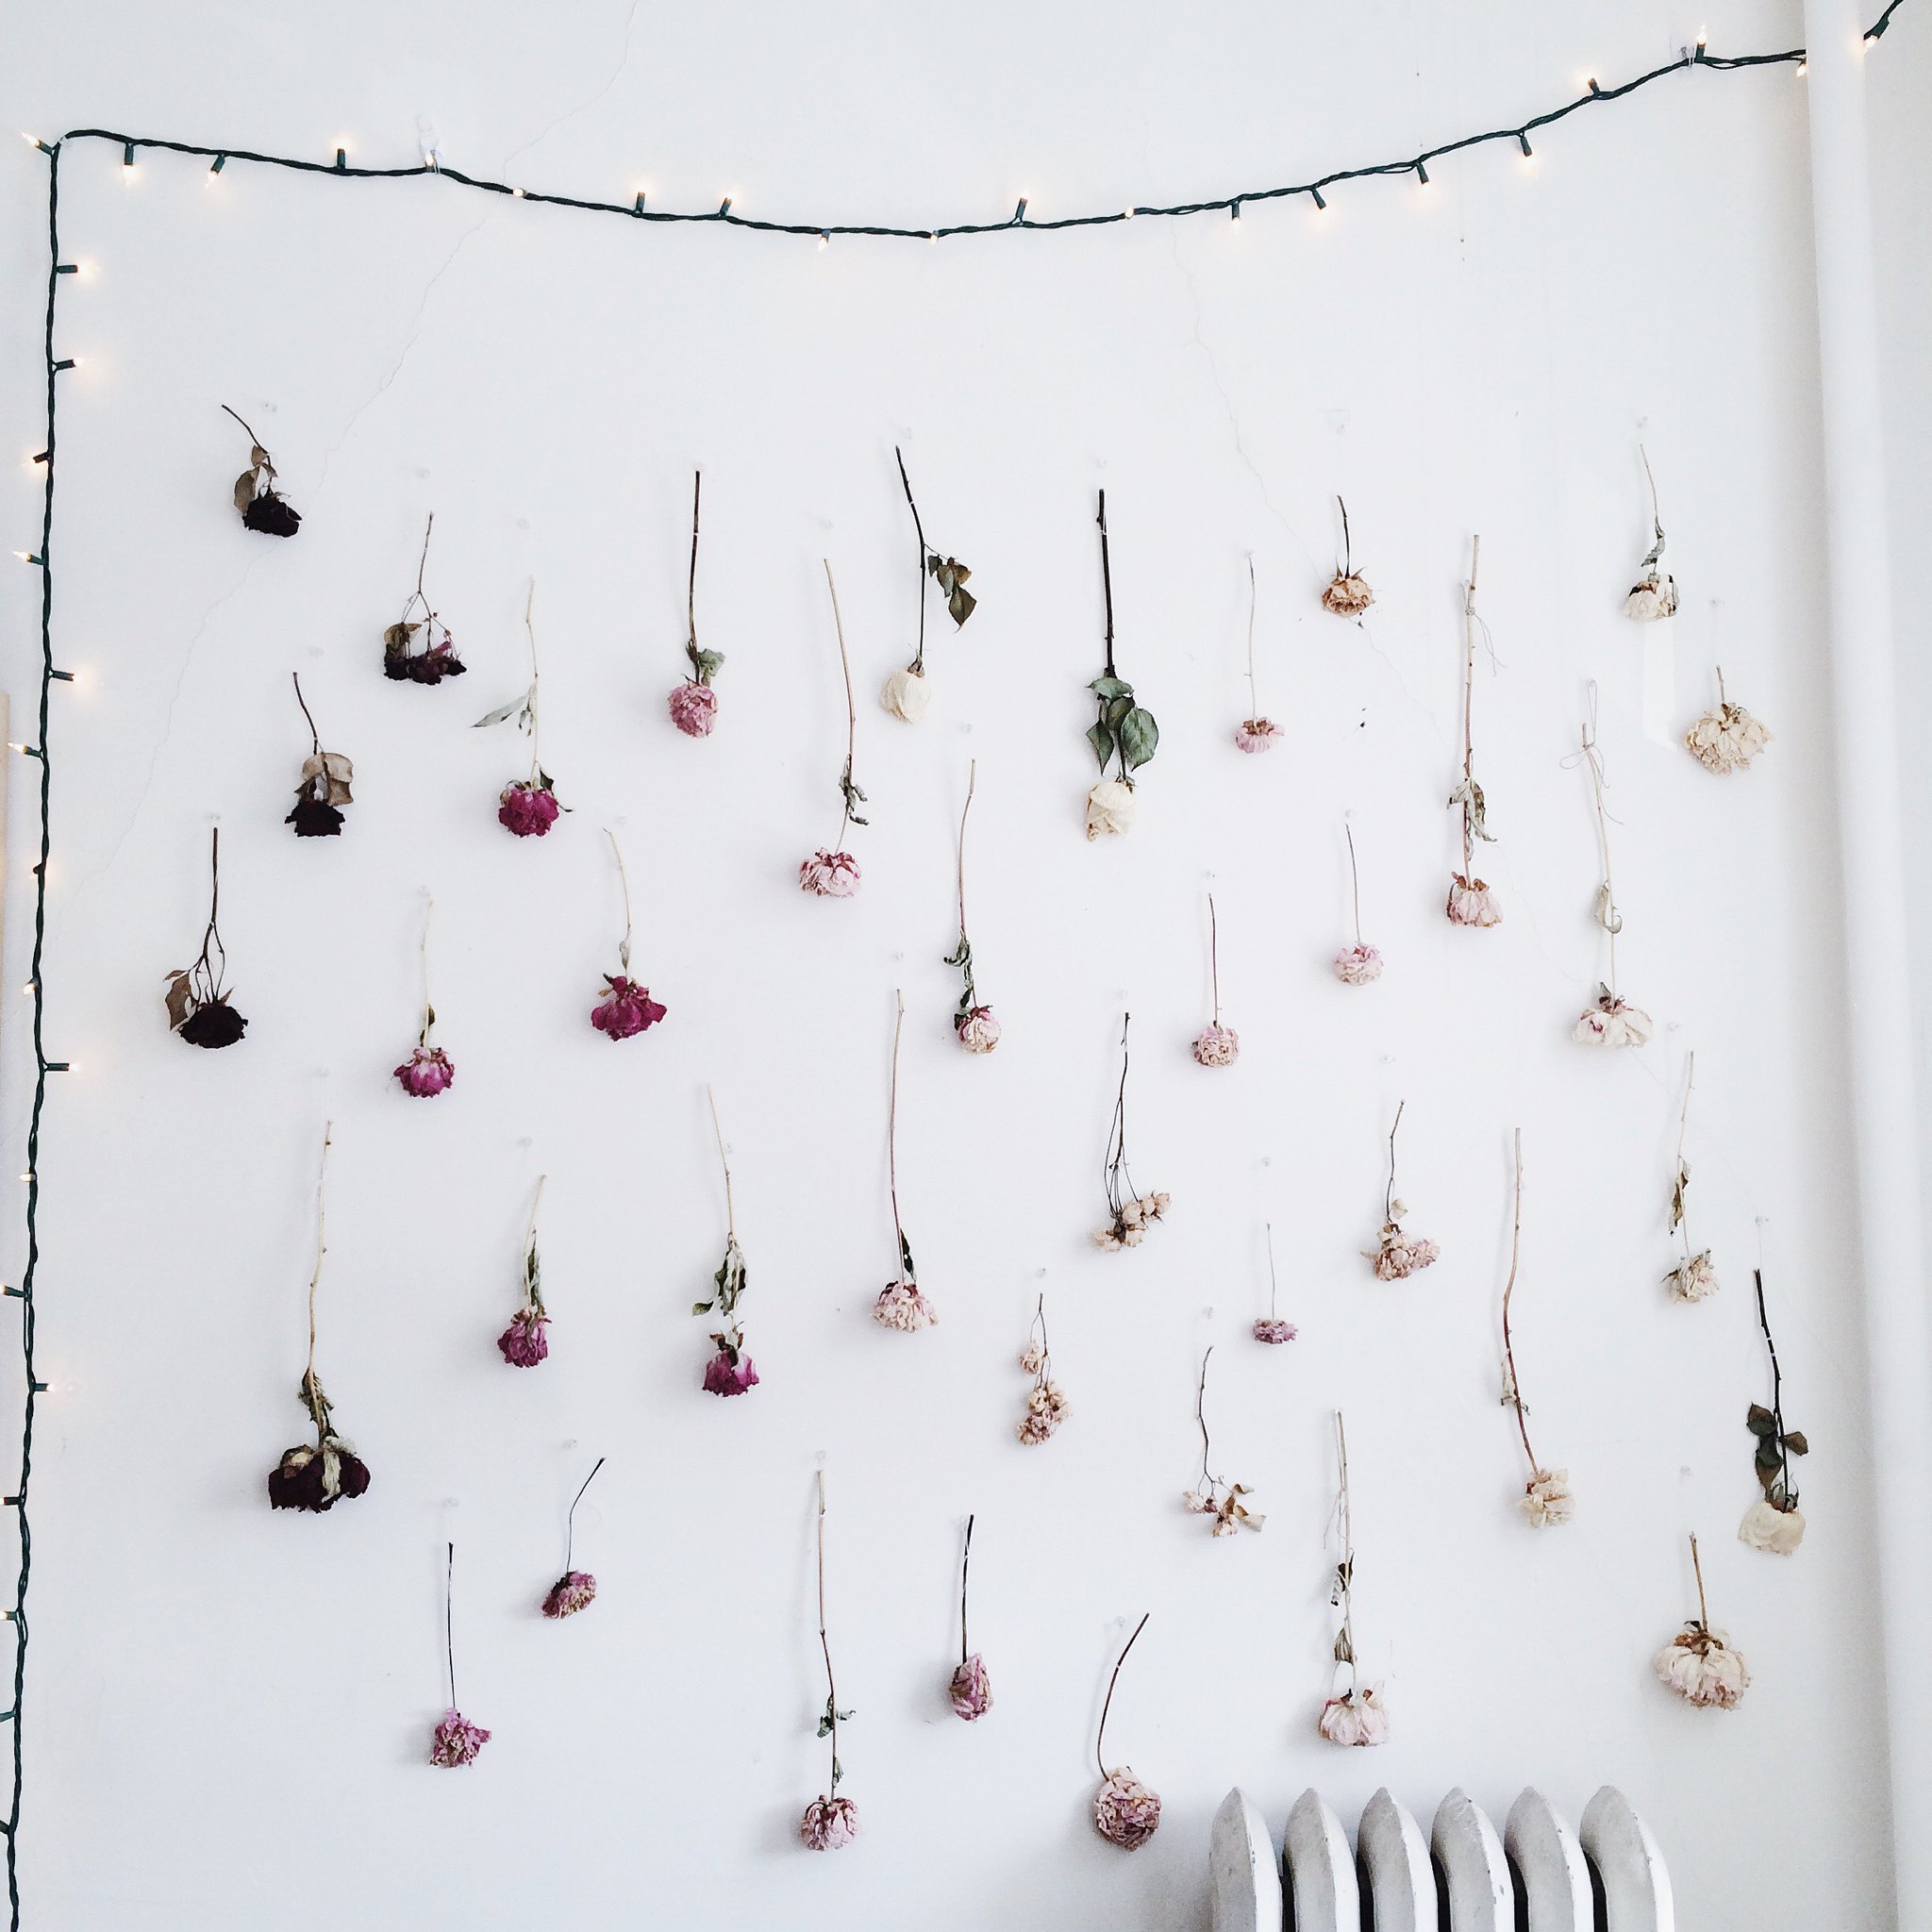
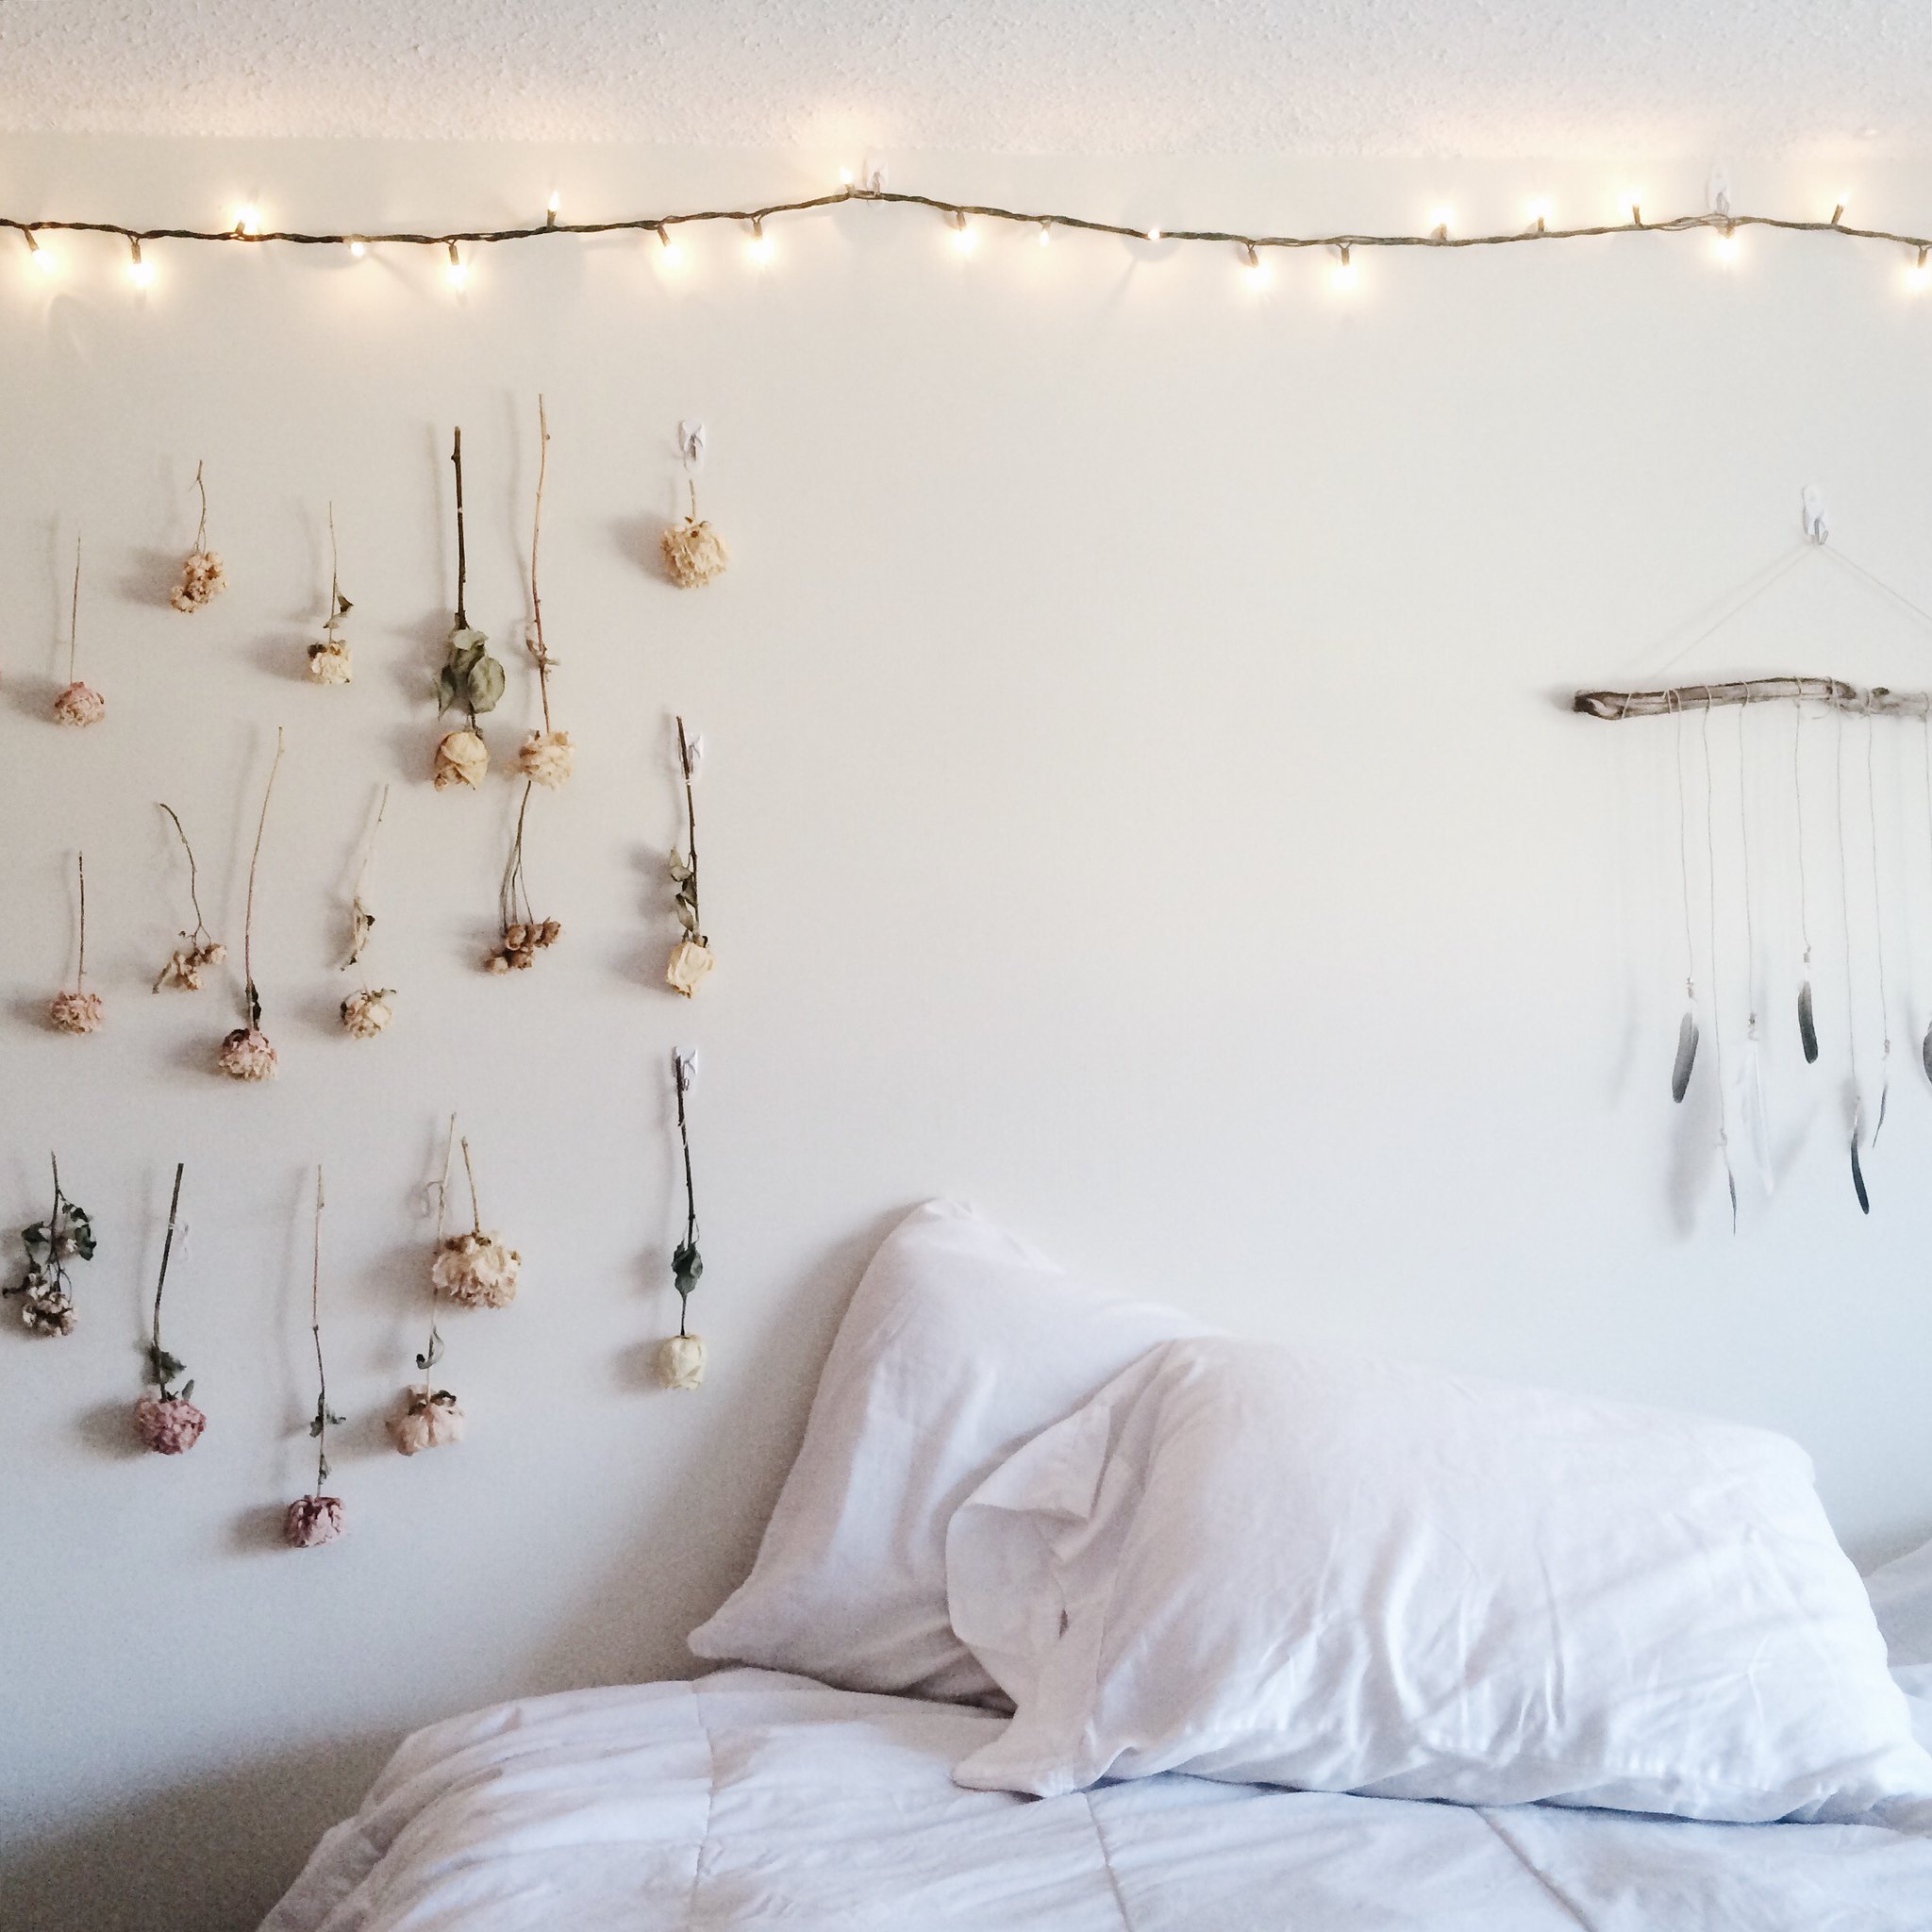
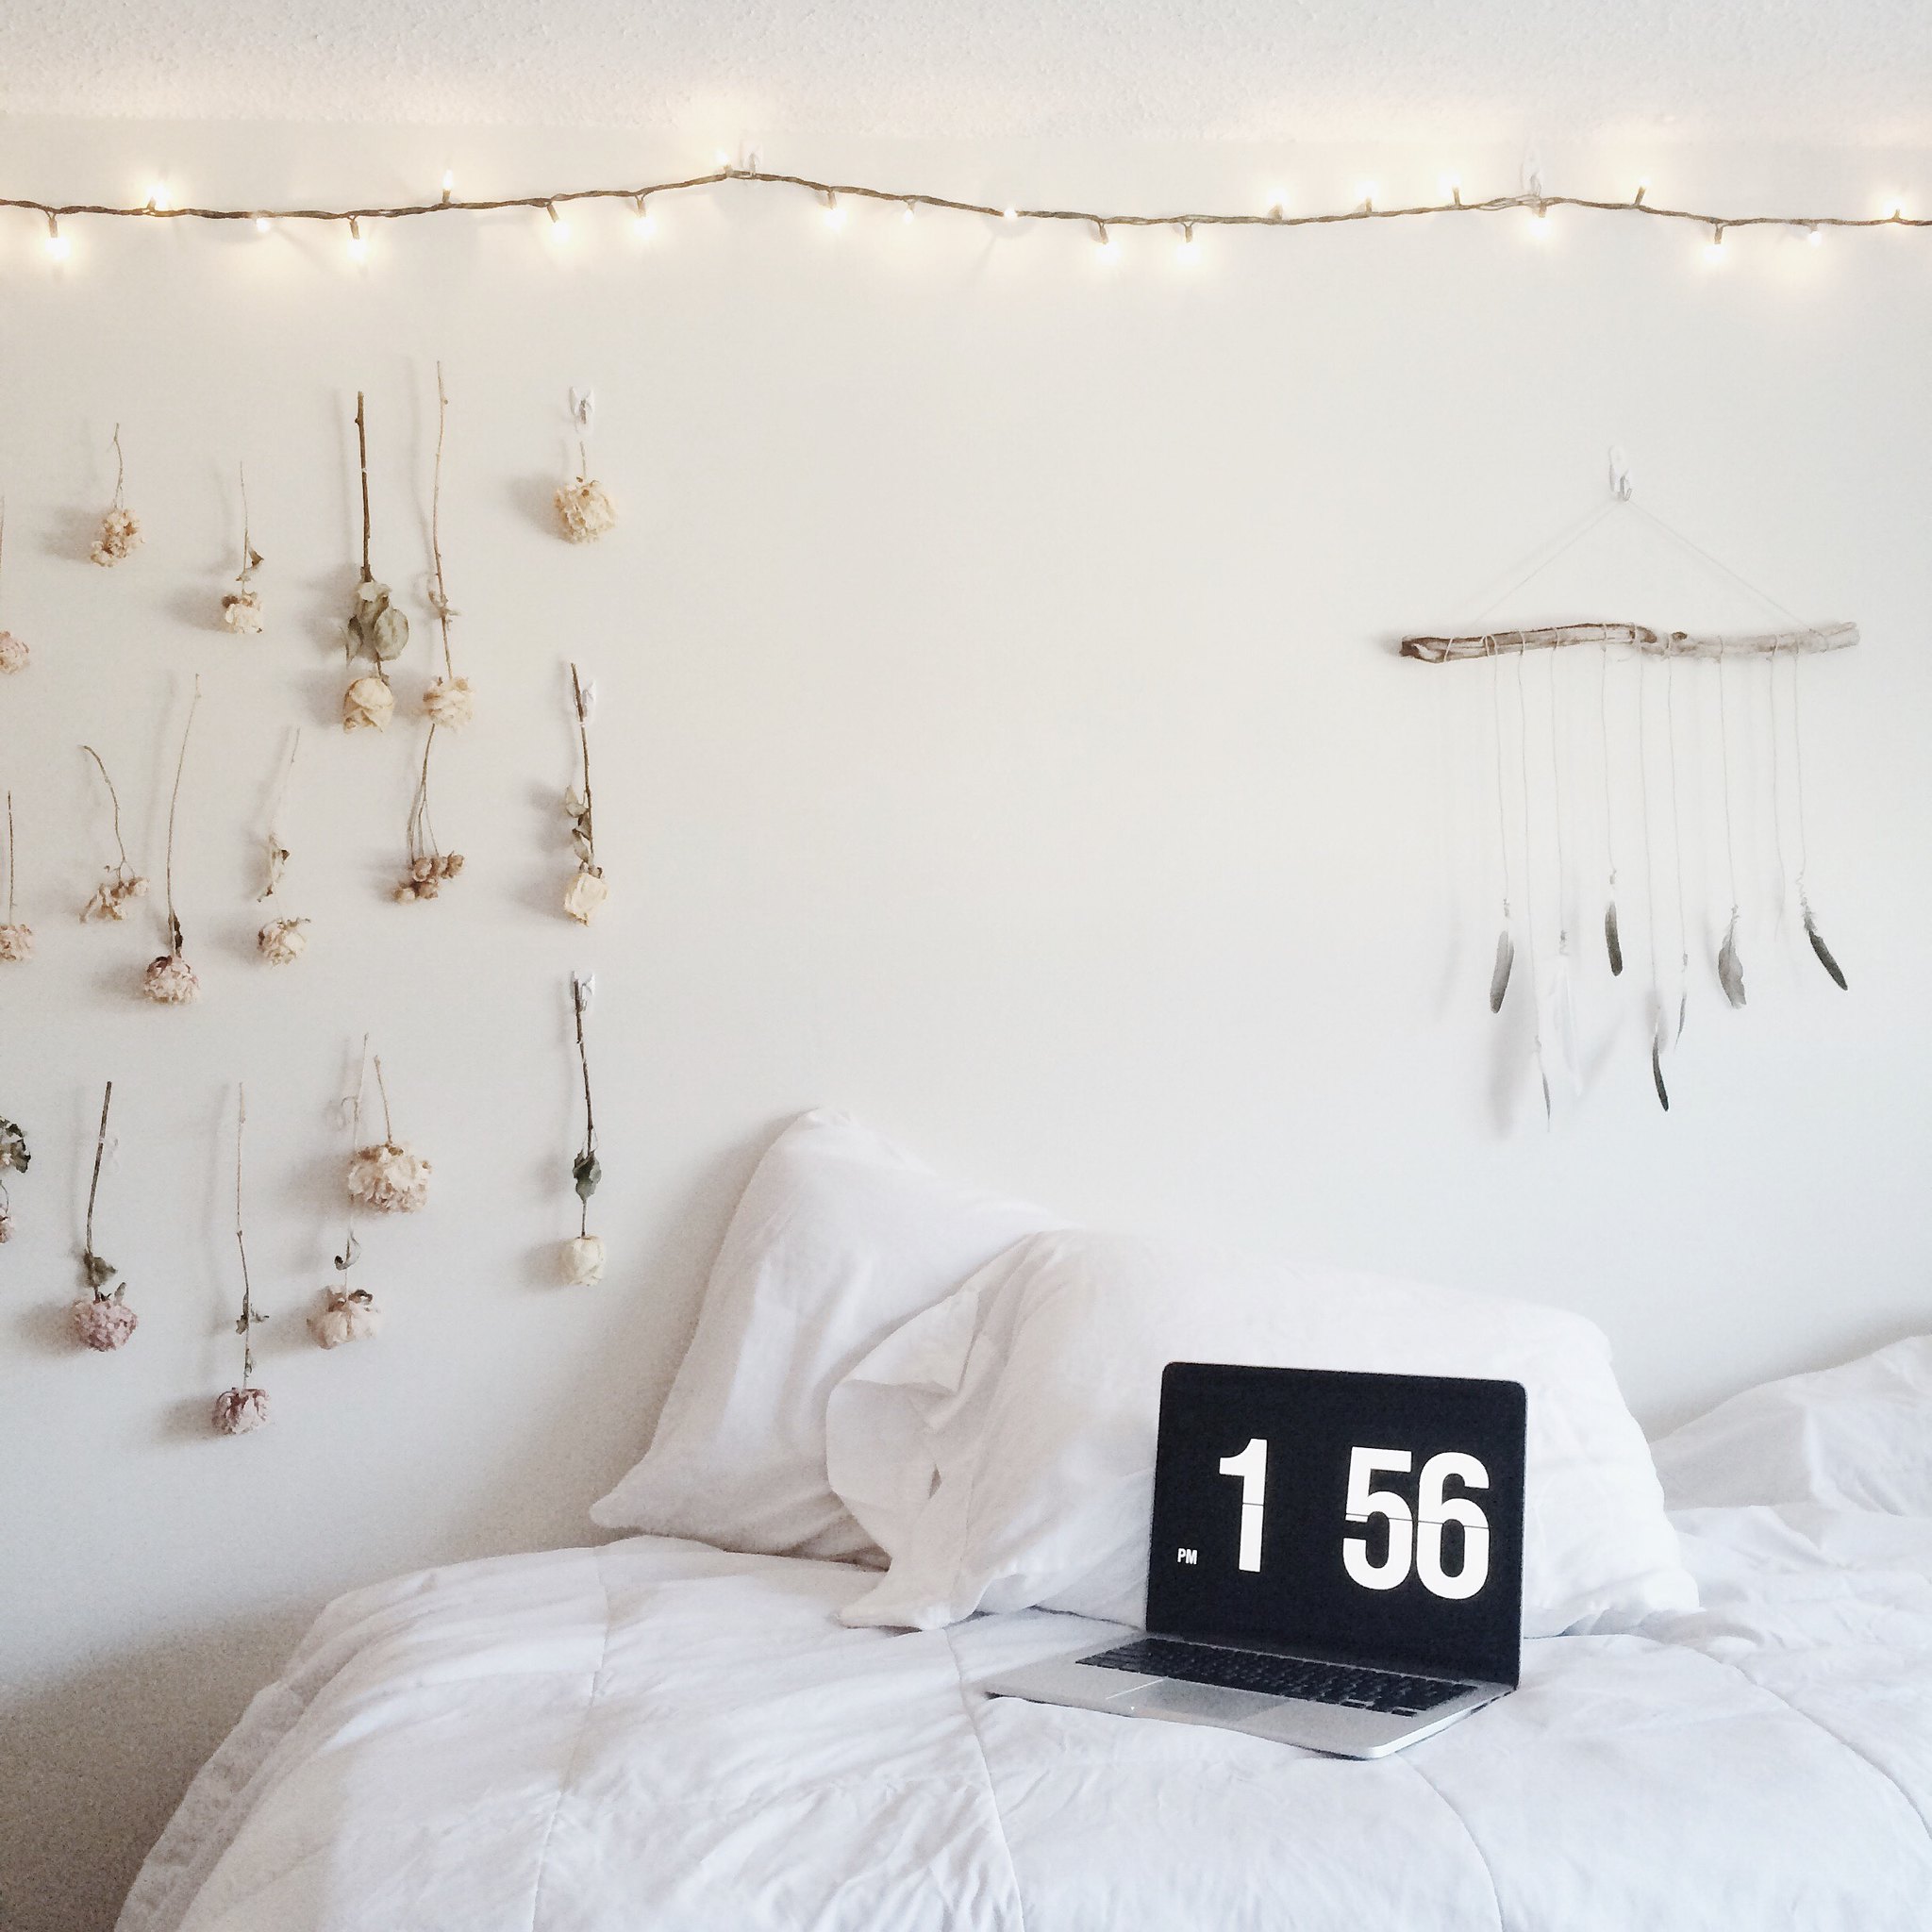
How to hang without damaging the walls;
-(first photo + 2 above)
-Around the stem of the flower, use white thread, and tie a double knotted bow,
the loops will help!
-Tie right below a leaf or any irregularity in the stem-
this helps keeps the tie in place instead of sliding right off.
-In a dorm room you can't use tacks or nails, as well as in many apartments.
-I put six command hooks up, three left and three right.
-Tie a white string to one on the left, pull tight
(so it does not sag too much with the weight of the flowers)
and secure to the hook on the right.
-Tie the thread on the flowers to the thread on the command hooks.
-To make it not look too horizontally linear I tied the flowers and mismatched heights
and hung the flowers of different lengths sporadically.
And that's it! Pretty simple. My favorite way to make a space more natural and relaxed yet so sophisticated and unique. Leave any questions in the comments!

Post a Comment