

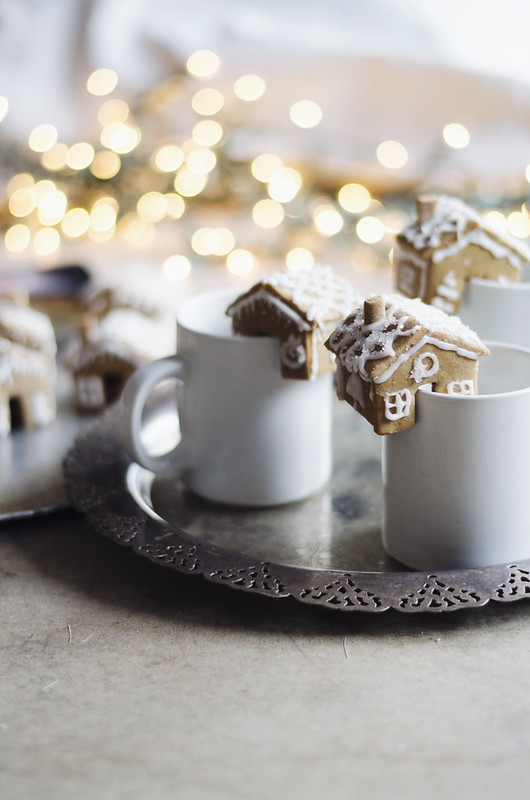
The smell of gingerbread baking is like no other! I have always loved making Gingerbread Houses. When I was a child I used to spend so much time on them (one year I waited until June to toss it). I also seriously have an affinity with all things mini. As well as hot drinks, hot cider, hot chocolate, hot tea (Gingerbread Tea exists - and is as good as it sounds). These little mini gingerbread houses are the absolute perfect holiday project. Read on for the full DIY tutorial and free printable template!


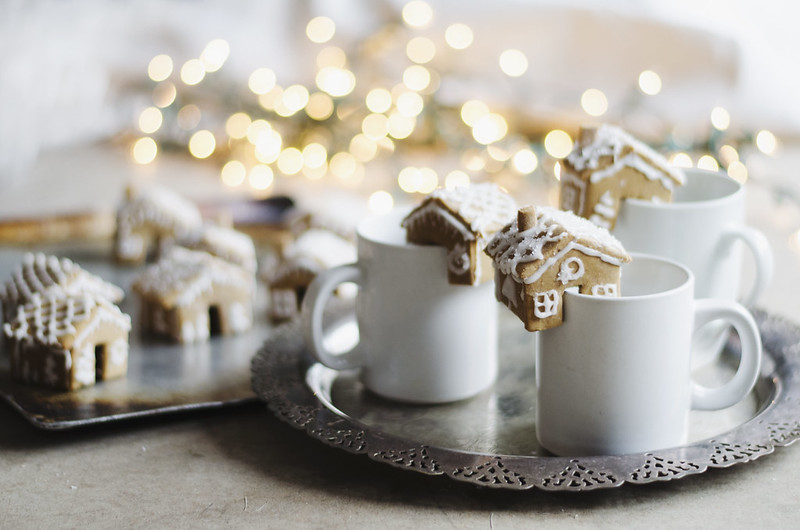
How To;
Use my classic Gingerbread Recipe here (also perfect for gingerbread men)!
With the following changes;
Use only the tiniest pinch of baking soda as opposed to 1/4 tsp.
Separate dough into thirds and refrigerate for three hours to over night.
Use a flexible cutting board if possible for easier maneuvering.
Lay out tinfoil and flour well.
Using a floured rolling pin, roll out to about 1/8 inch thickness.
Use a sharp knife to cut out the shapes from
(print on 8 1/2 by 11 so the shapes are of proper size)
Instead of lifting the shapes, peel back the excess gingerbread.
Move the tinfoil sheet with shapes to a pan.
Refrigerate for 10 minutes.
Bake at 350°F for 6 minutes.
You can reuse the excess dough, however you want to keep it cold.
To keep my dough cold I would roll out and cut the cookies.
Reball and rewrap the excess dough, move it to the fridge and use one of the other thirds.
The cold dough helps the pieces keep their shape.
To Assemble and Decorate;
Use about a cup of powdered sugar mixed with a bit of water.
I spooned my icing into a sandwich bag with the tip cut- perfect alternative to a piping bag!
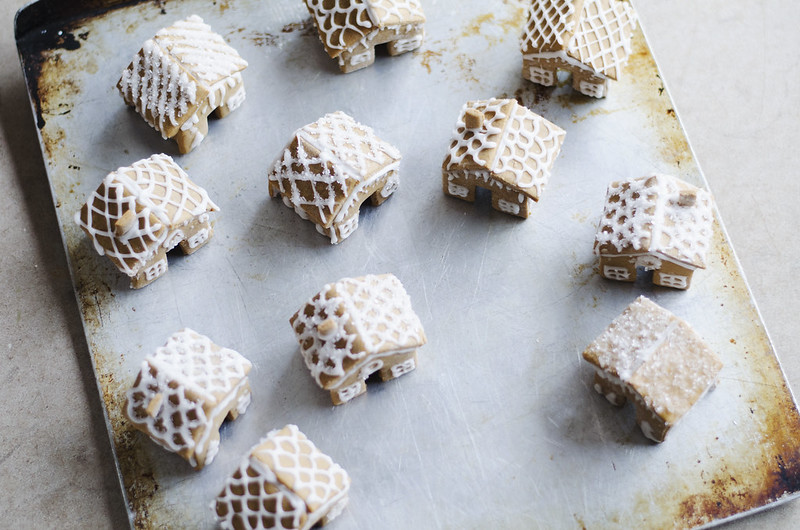
I found it best to attach the sides to the front and let them dry.
Then attach the back.
Then attach the roof.
Toothpicks help hold the houses upright.
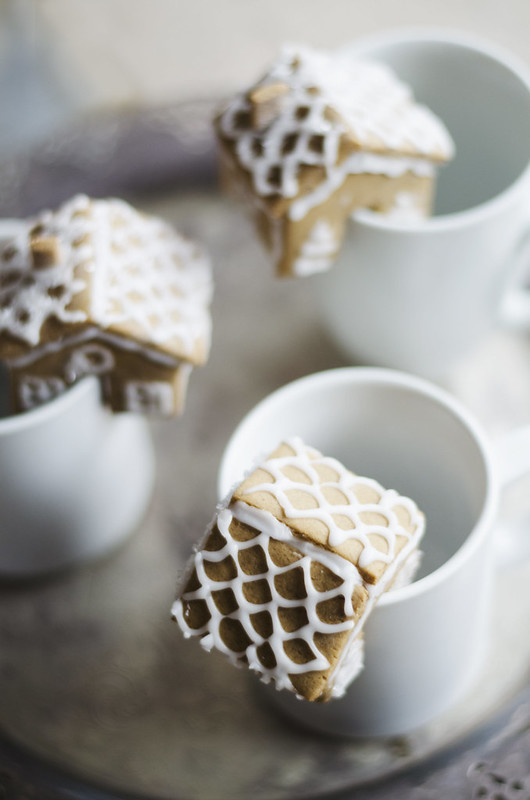
Using the same icing decorate!
I did trees, wreaths, windows, roofing.
I also sprinkled some glittery sprinkles to look like snow!
The options are truly endless.





If you like this DIY be sure to follow on Bloglovin' for more!
Happy Holidays! xo


what a cute idea!!! love it.
ReplyDeleteOh these are so cute and your photos are beautiful! Why is everything so much prettier in miniature?! Love this recipe, thank you so much for sharing!
ReplyDeleteHappy Holidays,
Emma xo // Wallflower Wardrobe
Oh my goodness these are so cute. They look like beautiful things to surprise people with. And the last photo is stunning with the gold on your fingers.
ReplyDeletexx
scarlettandgiselle.blogspot.com
These just look so cute! I'm in love! <3
ReplyDeletexx
ALINA ERMILOVA | BLOG
These are way too cute! I want to make them right now just to look at them!
ReplyDeleteI can hardly handle the cuteness!!
ReplyDeleteThese are adorable!!!
ReplyDeleteso freaking cute!
ReplyDeletexx nikki
www.dream-in-neon.com
So cute! What a great idea. I'm so happy I found your blog. So full of pretty inspiration and recipes.
ReplyDeleteKate
www.day-drunk.blogspot.com